The Roku streaming player can turn your regular TV into an entertainment hub with all your favorite streaming services. A Roku streaming player can connect to any TV with an HDMI port. This means you can use a Smart TV and a non-Smart TV. You'll just need a Roku device and a TV to get started. This minHour will show you how to install, set up, and use your Roku streaming player or stick on your TV.
Installing the Roku Device
Determine which Roku model you have.
There are two main types of Roku, both of which require your TV to have at least one HDMI port to use:
- Roku Player (1, 2, 3, 4, Ultra or Ultra LT, Express or Express+, Premiere or Premiere+, XS, SE, LT, etc.) — Resembles a streaming box. It comes with several cables like an HDMI cable and an AC power cord.
- Roku Stick — Resembles a flash drive (memory stick). It comes with a USB power cable, remote control and two AA alkaline batteries.
- If your Roku player belonged to another person (or if you’re trying to set up your old Roku for a new TV), you can factory reset it by attaching it to a power source and using a paperclip to press the recessed “Reset” button.
Plug the Roku player into your TV’s HDMI port.
All HDTVs have at least one HDMI port; the HDMI port resembles a trapezoid shape and can often be found on the TV’s back or side. Depending on your Roku type, this process will vary slightly:
- Roku Player — Plug one end of the HDMI cable into the back of the Roku Player’s box, then plug the other end into the HDMI port on the back or side of your TV.
- Roku Stick — Plug the HDMI connector on the end of your Roku Stick into the HDMI port on the back or side of your TV.
- If the streaming stick has trouble fitting among other cables due to space restrictions, order a free HDMI extender from Roku’s site: https://my.roku.com/hdmi/.
- If your TV doesn’t have an HDMI port, try using an HDMI to Component and/or Composite adapter, if your TV has a component (i.e., red, green and blue) or composite (i.e., red (R), white (L), and yellow (VIDEO)) ports.
Note the HDMI port’s number.
On TVs with more than one HDMI port, each port is designated a number label (e.g., HDMI 1, HDMI 2). Make sure to remember to which input your device is connected.
- If you want to watch 4K or 4K HDR content, make sure to connect your device to an HDMI input that supports HDCP 1.4 or 2.2.
Plug in the Roku device.
Both the Roku Player and the Roku Stick require connection to a power source (e.g., a wall outlet):
- Roku Player — Plug the small end of the power adapter into the back of the player box, and the other end into an electrical power outlet.
- Roku Stick (model 3600 and down) — Plug the small end of the micro-USB power cable into the back or bottom of the stick, and the other end into an electrical outlet. Some TVs have USB ports to provide power in the place of a wall outlet.
- Roku Stick+ (model 3810 and up) — Plug the small end of the USB power cable with an advanced wireless receiver into the side or bottom of the stick like this, then plug the other end of the USB power extender cable and AC power adapter into an electrical outlet. Some TVs have USB ports to provide power in the place of a wall outlet. Insufficient power from a USB port can lead to instability, crashing, and/or other unpredictable behavior.
Switch to the Roku’s input.
Turn on your TV, then press the button labeled , or and select the HDMI slot into which the Roku Player or Streaming Stick is inserted. In a few more moments, the Roku logo animation should fill the TV screen. Be sure that your TV is tuned to the correct input source.
Setting Up the Roku
Select your language and country of residence.
Using the arrow buttons on the Roku remote, scroll through the available languages and countries of residence until you find your preferred ones, then press the button on the Roku remote.
- The Roku remote should pair automatically once it turns on. If it doesn’t, press and hold the pairing button for about 3 – 5 seconds until the green light on the back of the remote starts flashing.
- To control your Roku from a mobile device, download the Roku app for iOS in the App Store and for Android in the Google Play Store. This app turns your mobile device into a functioning remote for your Roku. It can also display media from your device to your TV.
Connect to the internet.
For a wireless connection, press the right arrow and select Set up the new wireless connection. For a wired Ethernet connection, connect the Ethernet cable to the Roku, press the right arrow and choose Set up a wired network. If you’re not planning on streaming right away, you can choose “Connect to the Internet later.”
- Select your Wi-Fi network on the left-hand side of the screen. Scroll through the available Wi-Fi networks and press OK to select your network. If at first you don’t see your network, scan for networks again by selecting Scan again to see all networks and pressing the OK. Make sure to connect to the same Wi-Fi as your computer, tablet, or smartphone.
- If the network has a password padlock icon adjacent to its name, it will prompt to enter the Wi-Fi password. Enter your Wi-Fi password using the on-screen keyboard and select Connect.
- Press OK again on the Roku remote to connect to the Internet when prompted. If all two or three of the checks are green and it tells you that it’s successful. If your Roku has low signal strength, consider ordering an HDMI extender in order to move the device to a better spot.
- If you’re connecting a Roku Player, you can also attach an Ethernet cable to the player instead of using Wi-Fi. However, the Roku streaming stick does not have a LAN Ethernet port to connect to a wired Ethernet connection.
Allow the Roku to update as needed.
Once your Roku is connected to the Internet, it will prompt you to download the latest software. When it’s finished, your Roku will restart. This process can take up to half an hour (or longer, depending on your Internet speed), so be patient.
Confirm your display settings.
Press the button on your Roku remote to determine the best resolution for your TV. If the results aren’t as expected, make sure all HDMI cables are firmly attached, then analyze the HDMI connection again by choosing . If the screen is displaying correctly, select . Otherwise, select and confirm your display type and resolution manually.
- If you’re using a Roku player, your Roku will immediately determine the best settings for your HDTV and apply them.
- On a Roku Streaming Stick, select Set up display type and allow the setup to run.
- On a Roku Streaming Stick+, select Auto detect display type, then select OK, go to automatic when you are prompted.
- You can change the display settings later on at Settings → Display type.
Set up your Roku remote to control your TV.
If you want to use your Roku remote to change and control your TV’s volume and power, select and press again. Ensure your TV volume is up, then follow the on-screen instructions to point your remote at the TV. If at first the remote doesn’t successfully control the TV, try manually entering the brand of your TV.
- Choose Skip if you’d rather that the remote only control the Roku.
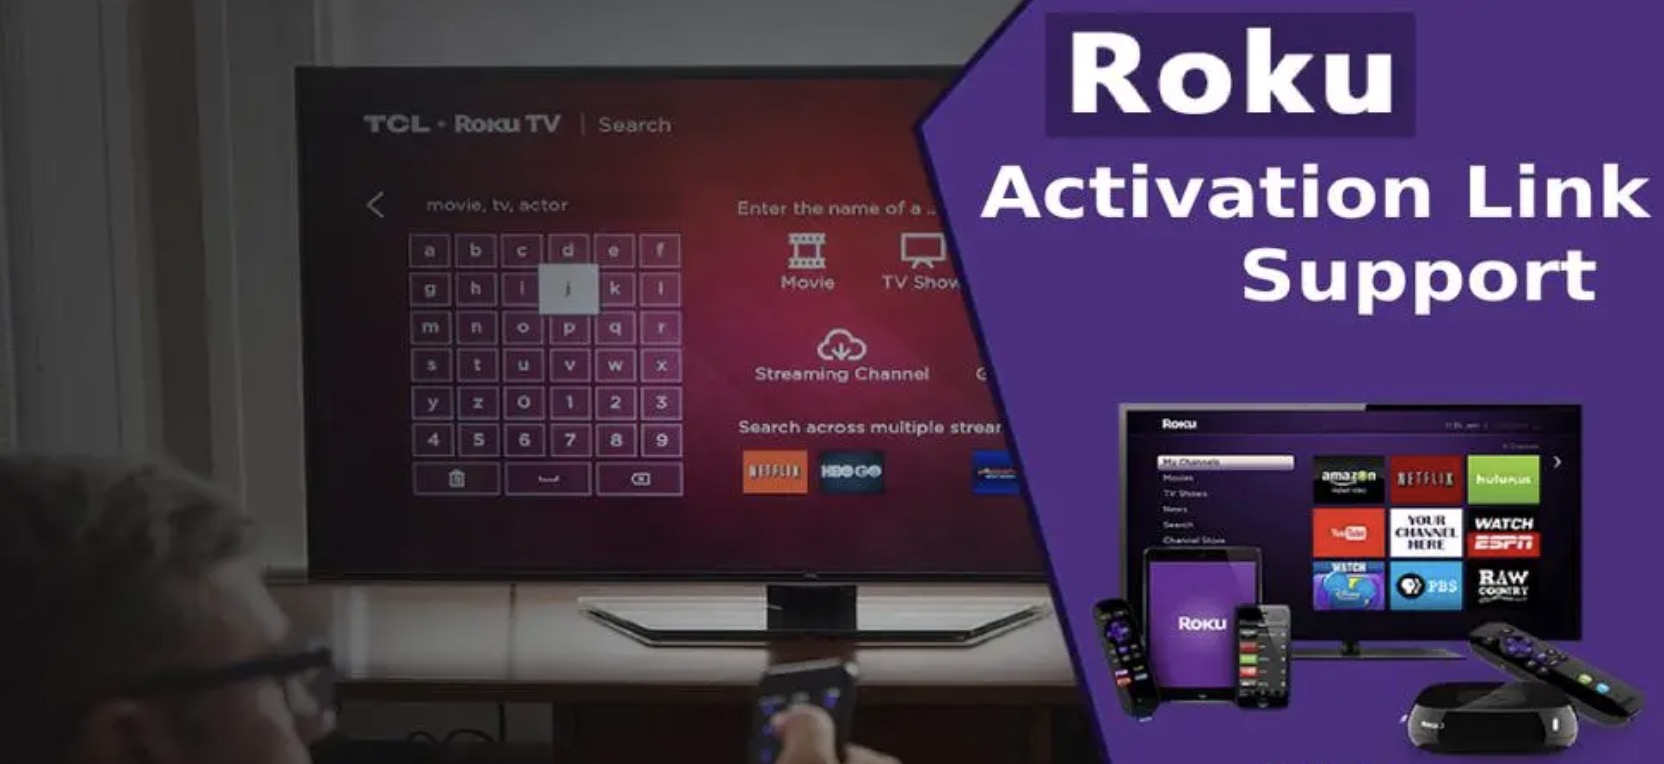
Activating Your Roku
Find your Roku’s activation code.
You’ll need to enter the 5-7 character code on-screen in order to activate your Roku online.
Open the Roku linking page.
With a computer, tablet or smartphone, navigate to https://my.roku.com/link/.
- Make sure to write the URL correctly in your address bar to avoid fraudulent dupes of this site. Roku does not charge for device activation or setup support fees of any kind.
Enter the activation code.
In the text box in the middle of the page, type in the five-character code displayed on your Roku.
Click the Submit button.
It’s a purple rectangular button under the text box for your activation code.
Log in or create a Roku account.
If you already have a Roku account, choose and enter your email and password. To create an account, fill out the on-screen text fields with your email address, username, preferred password and other required information.
- You may be asked to create an account PIN as well. This is what you’ll use to log into your Roku TV if you choose to password-protect it. Choose one of three options: a PIN is not required, a PIN is only required to make any purchases and/or a PIN is required to both make purchases and add channels right from the Roku Channel Store on your Roku device.
Add a payment method.
Choosing to enter a preferred payment method (e.g., a credit card or PayPal) makes it a lot easier to rent/buy movies, sign up for free trials and add subscriptions. You can choose to skip this step for later if you want by choosing .
- You will not be charged when saving your payment method, but this is the method you’ll use to pay for some content (e.g., subscriptions) on your Roku player. Your consent is always required to authorize any of these charges.
- If you’re on a Roku account which already has a payment method, skip this step.
Complete additional on-screen steps.You may be asked to confirm your account’s email address and password.
You should start to see your selected channels getting added to the Roku, this setup process should take a few more minutes
- You can now download apps like Netflix and Hulu to your Roku dashboard. Visit the Channel Store and browse the available apps.
Tips
- Most Roku players have adhesive strips to attach to mount it near or around your TV. Make sure not to put your Roku player behind the TV or inside a cabinet, as doing so may cause overheating.
- Listen to your Roku’s audio through headphones with the Roku mobile app, available on the App Store or Google Play. When private listening is activated, you’ll not hear any audio from your TV speakers.
- To control your Roku from a mobile device, download the Roku app on the App Store or Google Play. It turns your mobile device into a functioning remote and can display media from your mobile device on your TV.
Warnings
- Only one Roku-enhanced remote control can be connected to a Roku device and use one private listening session at a time.
- If the red light is solid (not flashing), your Roku is too hot and overheating. Unplug and remove the Roku player immediately. Make sure to place the device in a well-ventilated location.
- If the red light is flashing on the front of the Roku or an insufficient low-power warning message appears, your Roku device isn’t getting enough power from its power source. Verify it’s properly connected to the power source. Wall outlets provide consistent power to your Roku device.
- Most Roku players and Roku Streaming Sticks plugged into the USB port on your TV will lose power when the TV is in standby mode. This can be avoided if your Roku device is connected to a wall outlet using an AC adapter.
- Only select Roku players support 4K UHD/4K HDR, learn about any other requirements for 4K UHD or 4K HDR content at Roku’s support site: https://support.roku.com/article/115004234547 or https://support.roku.com/article/115007071107.