Liked a part of the song and willing to add it to your video? You may surely do so but it may not sound good as it won't have an important element of a good song i.e. fade in and fade out effect. Fading in and out gives the song that much needed flow and makes it sound amazing. Sony Vegas Pro has made it as easy as dragging the cursor! This article will guide you fade in or out music and video in Sony Vegas Pro.
Open a song or video in Sony Vegas Pro.
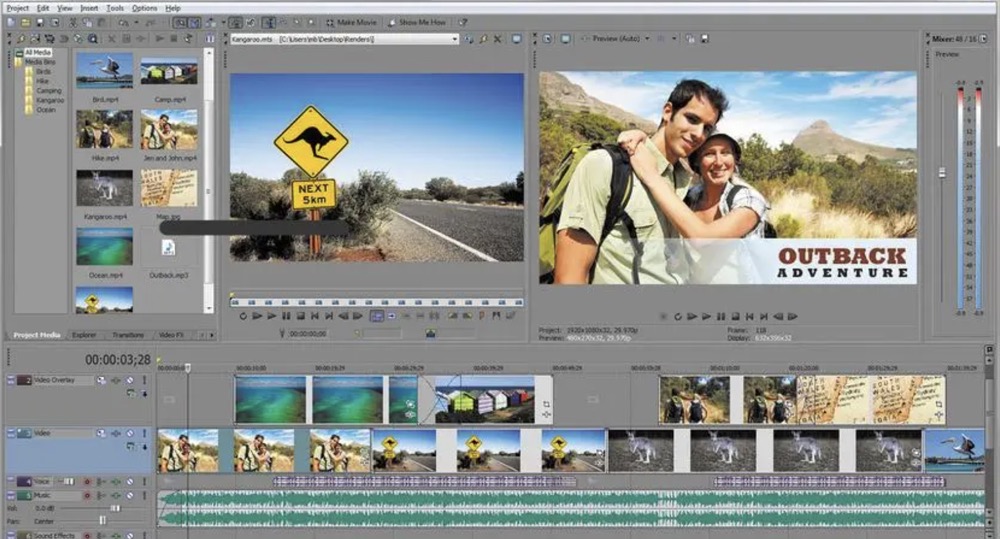
In Vegas, select the File menu and choose Open.
You can then select any project and choose to open it for editing.
Zoom the video timeline to ensure accurate splitting.
Select the + icon on the bottom-left side of the screen to zoom the timeline for your convenience.
Most video editors keep a division of one second for accurate editing.
Move the cursor to the starting or ending vertex of the media file.
Keep moving the cursor until it stops changing to a quadrant (one-fourth of the circle).
The caption will show Fade Offset.
Set the fade in or out location.
Click and drag the cursor to the part from where you want to see the fade in or out effect to start.
The selected part will have a grid effect and a graph which shows the rate of effect.
Test your changes.
Press ⇧ Shift+Space to start playing from the start.
Adjust the fade offset as per your choice.
Tips
- You can increase or decrease the fade offset by moving the cursor to the point you’ve set earlier. Click and drag inwards or outwards to change the timing.