Learning how to rasterize applies to images used in print and web publications. A raster image, also known as a bitmap, is a representation where the image is made up of small pieces of information which translate as pixels when viewed. The pixels translate as color dots to create an overall image. When an image is rasterized, those pixels use the red, green, blue color system. People often know how to rasterize images for graphic design and blow up the images to large dimensions for home décor designs. It is an important skill when working with photographs and fine art drawings for online or print publication.
Steps
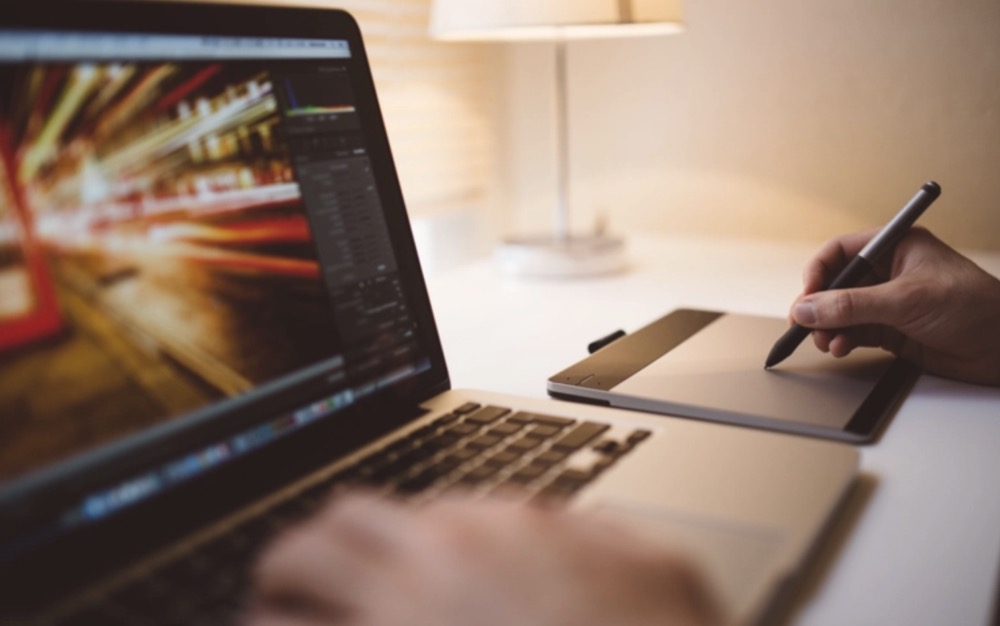
Select a professional caliber photo-editing computer software program to adapt your selected image.
Select all layers of the image under the Layers palette and click under the toolbar to ‘rasterize’ the layers.
Select the height and width pixels to determine the final image size.
Adjust the resolution and color mode to align with your final desired product.
Open your image in the software and change the resolution to 300 Dots Per Inch (DPI).
- If you are looking to export the image that is rasterized, the default file ending is a .png file, saved with the image in front of a transparent background. You can change the type of file saved by clicking the dialog box under ‘save type as’.
Convert your rasterized image to a vector image if it did not look the way you wanted.
Create a new layer in the image and use the eye dropper tool to select the main colors of the image and save them.
Trace the entire image using the pen tool.
- Each traced element of the image needs to be created into a new path, a new layer, and then colored back in with the eyedropper tool and the original color palette.
- Turn off the visibility of the original layer to preview the new image which is now vectorized.
Tips
- You can hand-rasterize an image by using a projector and graph paper. Shade in the blocks to match the larger image, creating a rudimentary rasterization if a computer is not available.
- You can create rasterized wall art easily with the Rasterbator website. Simply uploading your image will then produce a PDF file that is printable. This creates a personalized, easy piece of printable art that packs a big impact when affixed to the wall evenly to represent the final image on a large scale.
Warnings
- Rasterized images are best for photographs or shaded drawings. However, vectoring an image, which defines points and paths to mathematically represent an image, is a preferable technique for line art, illustrations, and print font faces.