The easiest way to add extra safety to your iPhone, Android, or other electronic device is to use a screen protector. This protects your device screen from damage such as scratches and cracks. By following a few simple steps, you'll be able to install your screen protector perfectly and without any air bubbles. This minHour will show you how to apply a screen protector to your electronic device with and without an applicator.
Applying Without an Applicator
Get a screen protector.
They typically come custom-cut. (In a pinch, see the “Tips” to cut one down to fit.) There are a few basic materials:
- Semi-hard, slick, clear soda-bottle style such as PET, the most common and generally best. (Gimmicky variations such as semi-reflective or matte can be fun, but less practical.)
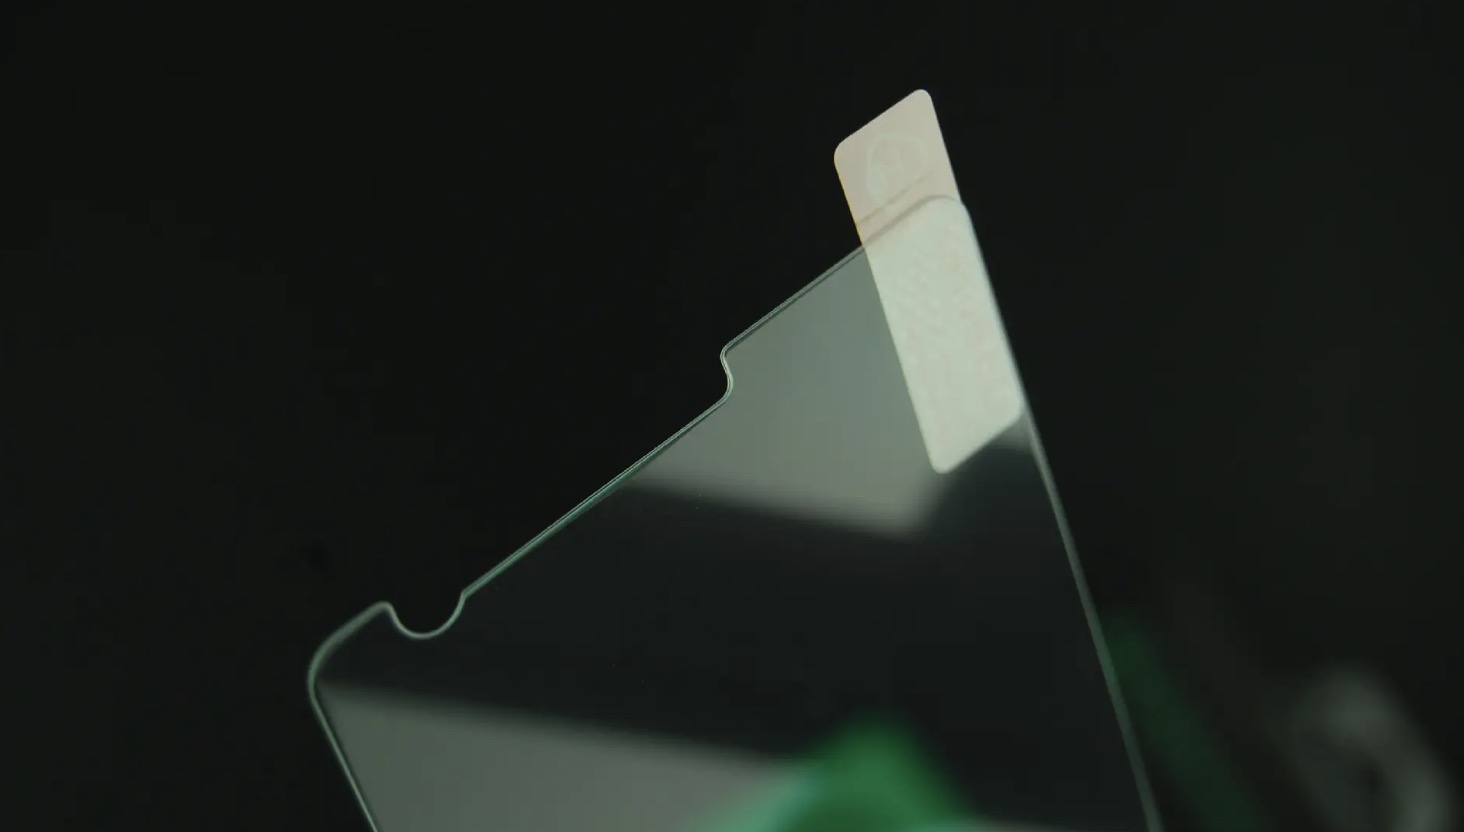
- Very hard, clear tempered glass, like a stronger microscope coverslip. Should have a plastic layer to hold together if damaged. Extremely scratch resistant, but brittle; tends to flake apart progressively once chipped.
- Very tough, thick plastic such as polycarbonate. Provides direct impact protection. Not very scratch resistant–won’t stay pretty. May reduce accuracy of touchscreens.
- Soft vinyl plastic. Not recommended as generally less pleasant to use, but does prevent scratches.
Understand the limitations of a screen protector.
Screen protectors mostly ward off light cosmetic scrapes and scratches, not breakage–a particular danger for fancy cell phones with their all glass fronts and often minimal plastic edge cushioning. A “bumper” case that wraps around the front edge of a phone can provide fairly effective yet stylish impact protection. Keep it out of back pockets and other crush danger areas.
- Ideal protection means getting a screen protector and a good case; a screen protector or case should ideally break and need replacement while protecting your phone from drops.
Find a low-dust workspace.
Anywhere indoors with calm air is a good start. You can improve things with steam. Running a hot shower works well, which fills the room with steam. When the steam has subsided, there will be less dust in the air than usual. This is the best time to apply the screen protector.
Wash your hands.
Dry them with a clean towel. Shake off any excessive lint.
Clean the screen.
Wipe it with a mild solvent like eyeglass cleaner or rubbing alcohol–or a damp soapy rag, which would not risk damage to low quality surrounding finishes. Rub it dry with a soft cloth and remove as much lint as possible with a blower or by wiping lightly with a lint free cloth, such as the microfiber wipe often provided with the screen protector.
- If you are replacing an old screen protector, you may need to clean the glue residue.
Check placement of the screen protector.
Carefully remove it from its box or packaging.Before you lift its backing, position the screen protector over the screen to see how much margin to leave on each side and ensure clearance of features such as camera spots (with which the screen protector’s less even surface would interfere) and microphone holes.
- Avoid cutting glass screen protectors. You should purchase a screen protector that is the correct size of your device.
- Some screen protector kits include guide stickers. Without removing the backing, place the screen protector as if to install. Use the guide stickers to create a hinge on one side for easy application.
- Alternatively, you can stick a piece of tape on the top side of the screen protector (non-sticky side) to make it easier to place.
Remove residual bits of dust with a mild adhesive.
Dust is the most important thing to remove from under a screen protector: bubbles will eventually diffuse out through the plastic and tiny finger marks will probably merge with the glue, but dust specks stay. Lightly dab a sticky note (such as a “Post-it”) all over the screen. Looking at the reflection of a bright area in the screen at an angle will confirm the presence or absence of dust. Quickly attach the screen protector before dust can gather!
- Some screen protector kits include a special sticker to pick up dust.
- Make sure you look at the screen at an angle to make sure there is no dust on the screen.
Stick on the screen protector, aligning an edge carefully.
Peel back the screen protector’s backing from one end (leaving it on the other allows more control by holding that end). Align it with the correct edge of the screen, leaving the margin you determined previously and watching how the alignment of the sides perpendicular to it will fall. Then peel off the entire backing and smooth down the protector.
- Avoid touching the sticky part of the screen protector. Handle it like you would CDs (i.e. without touching the bottom).
- Keep the sticky side of the screen protector facing down once you peel off the backing. Dust is less likely to get stuck when you’re applying it.
Problems?
Little mistakes like tiny dust specks should be ignored, as trying to fix them will do more harm than good, the screen protector will soon absorb worse damage exactly as intended, and it will eventually be replaced for a fresh one. If you need to reposition the screen protector, lift an edge carefully with a thin but not sharp implement like a piece of backing material, fingernail, or plastic spoon edge. If a big speck of dust is underneath, try fishing for it with a sticky note, length of cellophane style tape (such as “Scotch”) or sticky note, taking care not to disturb the adhesive.
Remove air bubbles.
Wipe the air bubbles toward the edges with a smooth implement like a credit card. Don’t do this forcefully unless the screen protector has a surface protector to peel off after installation: the air will eventually diffuse out and too much force could scratch the brand-new protector.
Finished!
Enjoy your gadget without fear.
Using an Applicator
Open the box with the screen protector.
The applicator is built into the packaging.
Lift the screen protector using the appropriate tab without peeling back the adhesive.
Insert the phone into the applicator.
Make sure that it fits, or exchange for a different screen protector size.
Clean the phone using the included microfiber cloth.
Peel the backing of the screen protector off.
Pull the applicator down to stick the screen protector on.
Squeegee until there are no air bubbles.
Use a credit/debit card or your fingernail.
Peel back the applicator, and remove the phone using the hole on the back.
Tips
- Apply the screen protector as slowly and carefully as possible. There’s nothing worse than a shaking hand when doing this.
- Thin plastic screen protectors can be easily custom-cut, preferably with a paper cutter, slightly undersize to prevent edge lifting, and approximating rounded corners. Hold them firmly and cut off enough the first time: trying to trim off little slivers tends to lead to flexing and uneven edges.
- To make bubble removal quicker, you can use a drop of water treated to reduce surface tension. Use a teaspoon of rubbing alcohol and/or a drop of dish soap in ¼ cup of water (from which you would take a large drop). Use scarcely to avoid liquid inside your device. Once the screen protector is installed, let it dry for a few hours.
Warnings
- Dust is everywhere; take too long and it will land on your screen.
- Do not get frustrated. Remember, a screen protector is a consumable item. It needs to be applied decently to protect the screen from far worse and it will eventually be replaced.
- A plastic screen protector might create more air bubbles.