Rainmeter is a desktop customization tool for Windows. You can completely change the "look and feel" of your desktop with Rainmeter.
However, there is a short learning curve. This article will help you get started.
Installing Rainmeter
Download Rainmeter from https://www.rainmeter.net/.
The Rainmeter application is simple enough to install.
Just keep pressing “Next” when in doubt.
You have successfully installed Rainmeter.
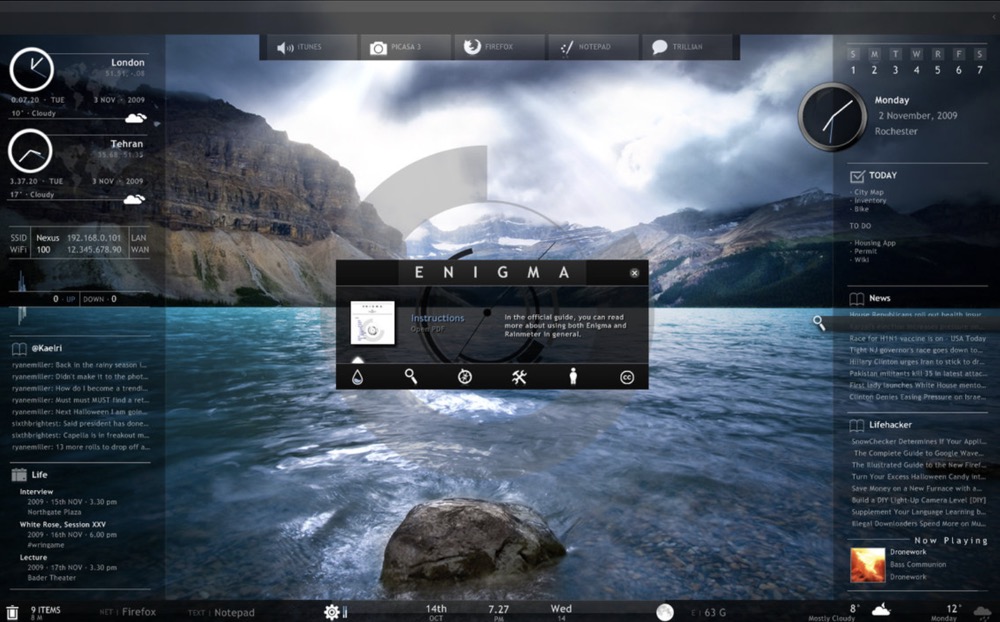
A huge collection of skins should appear on your desktop.
Installing a Skin
Download a “skin”.
By the Rainmeter terminology, skins can be compared with widgets. Skins come in many styles, most new ones have a .rmskin extension.
Click on the skin to install the skin.
The installation window is a single-click job.
Right Click on any skin on your desktop(which were there after installation).
In the Right click menu, select: Right Click>Skins>NAME_OF_SKIN_PACK>Skin_name.
A new skin should pop up.
You can drag it around.
Deleting a Skin
Right click on the skin.
Select “Unload Skin” from the menu.
The skin should be removed.
Tips
- Desktop icons in conjunction with skins is a hard trick to do. Removing all icons from the desktop is appreciated.
- Good skins can easily be found after a simple google search.