Nearly all modern devices record in HD (High Definition), so knowing how to render your recorded videos in HD is essential if you want them to look good when uploaded online or played on your TV. Sony Vegas allows you to quickly select from a variety of presets that make rendering in HD a snap. See Step 1 below to learn how.
Setting up the Project
Turn on GPU acceleration.
If you have a compatible graphics card installed, you can use it to help speed up your rendering time and offload some of the process from your CPU. Click Options and select Preferences from the bottom of the menu.
- Click the video tab.
- Click the drop-down menu next to “GPU acceleration of video processing” and select your graphics card. If your video card is not supported, it will not appear in the menu.
- Click Apply and then OK to close the window.
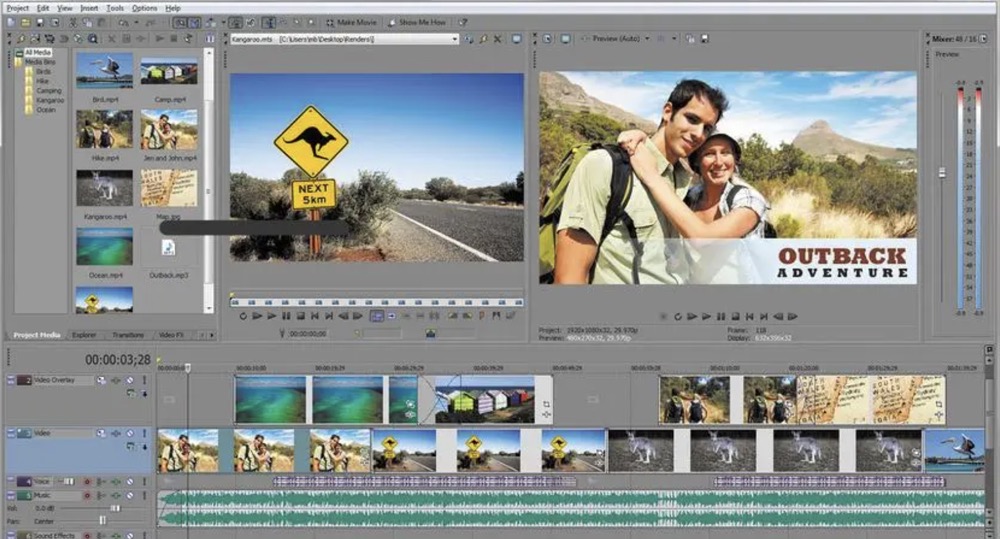
Open the Project Properties window.
You can open this window by clicking the Project Properties button above the preview pane, or by clicking File → Properties. This will open a new window which will allow you to adjust all of the details of your project.
- You can set the project properties before you start editing your video.
Select a template.
At the top of the Video tab, you will see a Template drop-down menu. There will be a large list of templates to choose from, but if you are rendering in HD there are only a couple you need to pay attention to.
- If you are filming in NTSC (North America), select “HDV 720-30p” for 720p or “HD 1080-60i” for 1080p.
- If you are filming in PAL (Europe), select “HDV 720-25p” for 720p or “HD 1080-50i” for 1080p.
- The main difference between NTSC and PAL is the framerate (29.970 vs. 25).
- If you are shooting at a higher framerate than NTSC or PAL standards, such as 60 fps, choose the appropriate template for the resolution you want.
Change the field order.
If you are rendering 1080p video, you will want to change the field order for your frames. Click the “Field order” drop-down menu and select “None (Progressive scan)”. This will result in smoother video.
Check the rendering quality.
After selecting your template, look for the “Full-resolution rendering quality” drop-down menu. Ensure that it is set to “Best”.
Select the deinterlace method.
Most modern digital footage is shot in progressive mode, so there is no need for deinterlacing. Click the drop-down menu and select “None”. Any other method could result in unwanted scanlines in the final video.
- If you are rendering in 1080p, select “Blend Fields” as most 1080p footage still uses interlaced frames.
Check the “Adjust source media…” box.
This will help reduce the chance of small black bars appearing around the edge of your finished product.
Save your template.
Once you are finished configuring your custom template, you can save it for easy access later. Enter in a name to help you remember it into the Template field, and then click the Save button. Your custom template will be added to the list, allowing you to quickly select it again.
Click the Audio tab.
Here you can adjust your audio settings for your project. There are a few things you’ll want to check in order to ensure the best-sounding video possible.
- Sample rate (Hz) – This should be set to 48,000, which is DVD quality.
- Resample and stretch quality – This should be set to “Best”.
Rendering the Video
Open the “Render As” menu.
Now the your project properties have been set, you can choose how you want to render it for the final product. You can find the “Render As” button in the toolbar or in the File menu.
Select an output format.
In the Render As menu, you will see a list of available formats in the Output Format section. There is a lot of discussion about which formats work best, but in general there are three formats that are considered the best for HD video:
- MainConcept AVC/AAC (*.mp4;*.avc)
- Windows Media Video (*.wmv)
- Sony AVC/MVC (*.mp4;*.m2ts;*.avc)
- MainConcept will result in the fastest rendering times if you are using GPU acceleration.
- Sony AVC is the best option for older versions of Vegas.
Expand the format you want to use.
For example, if you want to use MainConcept, expand it to display all of the different templates available under that format. Choose the one that matches your video the best.
- For MainConcept, if you are making a 720p video, choose “Internet HD 720p”. If you are making a 1080p video, choose “Internet HD 1080p”.
- For Windows Media Video, if you are making a 720p video, choose “6 Mbps HD 720-30p” (NTSC) or “5 Mbps HD 720-25p” (PAL). If you are making a 1080p video, choose “8 Mbps HD 1080-30p” (NTSC) or “6.7 Mbps HD 1080-25p” (PAL).
Customize the template.
Click the Customize Template… button to open a new window with all of the template settings. Note: This is different than your Project Properties template, and the following settings apply to MainConcept only.
- Uncheck the “Allow source to adjust frame rate” box. This may help prevent some stuttering in the final project.
- Ensure that the “Frame rate” drop-down menu matches what you set in the Project Properties window.
- Adjust the bitrate for smaller file sizes. If you want the final project to be smaller, lower the average bit rate at the bottom of the window. This will result in a lower-quality video. 720p can go as low as 5,000,000 for the average and 10,000,000 as the maximum.
- Change the “Encode mode” drop-down menu to “Render using GPU if available”. This will force the program to use the GPU to help rendering, which can significantly speed up the process.
- If you are using the Windows Media Video format, and are making a 1080p video, check the “Image size” drop-down menu in the Custom Settings window. By default, WMV selects 1440 x 1080, which will result in a skewed image. Set it to “(Keep Original Size)” and then set the “Pixel aspect ratio” menu to “1.000 (Square)”.
Start rendering.
Once you’ve set all of your rendering options, it’s time to start processing the video. Click the Render button at the bottom of the “Render As” window to begin the process. A progress bar will appear, and you will see the frame counter beneath the preview window advance as the rendering occurs.
- Rendering in HD can take a significant amount of time. Video length, rendering options, and computer specifications all have an impact on the total rendering time.
Warnings
- It takes up a lot of resources to render in HD, so make sure not to open other programs up, or they’ll most likely crash.