Philips universal remotes are neat devices that can be programmed to operate almost any television, DVD player, Blu-ray device, set-top box, or cable box. While the setup process is different for every unique model, the gist is generally the same. You’ll hold the device button down until a light blinks, enter the code for your device’s brand, then check your buttons to see if they work. The most common mistake is using a code that is right for your brand but designed for a different model. If you do use the wrong code, don’t worry; you can always try again using a different code for the same brand.
Initiating the Setup
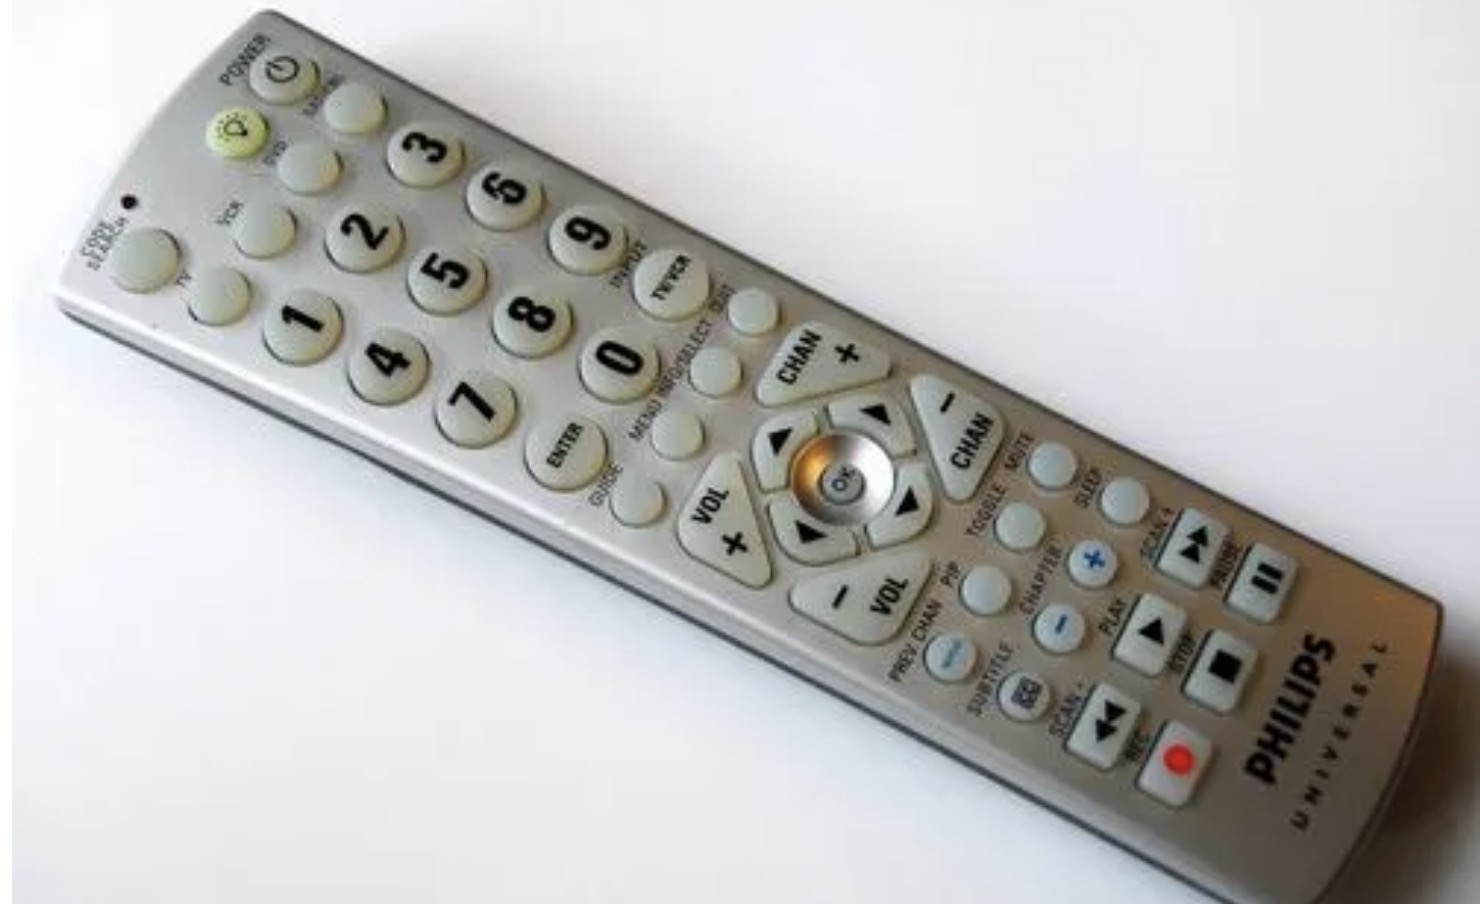
Check to see if the Philips remote is compatible with your device.
Your Philips universal remote can be synchronized with most televisions, DVD players, Blu-ray players, and cable boxes. While the vast majority of major brands on the market are compatible, there are some brands that will not work. Consult your device’s manual or search online to see if the remote will work with your device.
- Universal remotes typically wipe their memory settings after being synced with more than 3 devices. Consider getting 2 separate remotes if you have more than 3 devices that you want to use.
- The list of brands that are compatible will be listed in the instruction manual for the remote. There will be a list with a bunch of codes in the back.
Turn on
Whether it is a TV, DVD player, or other device, plug it in and turn it on. Give a few minutes to turn all of its components on and get running. The device that you are syncing the remote with must remain on throughout the entirety of the programming process.
- Make sure that there are batteries in your universal remote before you begin the installation process. They don’t usually come with them, but they take AA batteries so this shouldn’t be too tough of a fix.
Press and hold the “setup” button if your remote is older.
Inspect your remote to see if it has a setup button in the top left. If there isn’t, skip this step. If there is, you have a slightly older version of the remote. Point your remote at your device and press the setup button. Hold it down for 5 seconds. Once the red LED light near the top comes on, release the setup button.
- The LED light may be blue, but most of the older remotes use red lights.
Hold your device button down for 5 seconds until the blue or red LED turns on.
There is a row of buttons at the top listing the possible devices that you can sync your remote with. The common options include TV, DVD, or DVR. Press the button that corresponds to the device the you’re setting up. Once the LED light at the top glows blue or red, release the button.
- If you have an older remote, don’t wait for a light to come on after you hold the device button down. It may blink, but it may not. Just hold it down for 5 seconds and continue with the programming.
Entering a Valid TV Code
Find your device’s 4 or 5-digit code by consulting the instruction manual.
Open your universal remote’s instruction manual and flip to the back. You’ll find a table of brand names and a list of corresponding codes. Once you find your brand, look at the list of devices and find your model’s unique code. Underline or mark the code in the manual to ensure that you can find it quickly in the future.
- Common brands, like Samsung, Westinghouse, or LG, may have 20-30 codes listed under their brand. Mark your specific device so that you don’t have to spend a bunch of time searching for it in the future.
- On newer remotes and newer TVs, the list of available codes may pop up on your screen after you prompt it for programming with the device button.
- Older devices usually use 4-digit codes. Newer devices usually use 5-digit codes
Look online if you don’t have the instruction manual for your remote.
The device codes for universal remotes are listed online. If you don’t have access to your instruction manual or you aren’t sure where you put it, type your universal remote’s model number and “device codes” into an online search engine. You will find the codes for your remote online.
- The model number is listed on the back of your remote.
Enter the code on the number pad to make your device recognize your remote.
Use the number pad on your remote to enter the corresponding 4 or 5-digit code for your device. Based on the model of your remote, the blue or red lights on your remote should turn off if you enter a valid code.
- If a code doesn’t work, you may not be able to enter a new code immediately. On most older remotes, you’ll need to go through the entire setup process again. If the blue or red light on your remote blinks once and then stays lit, your code is invalid but you can enter a new one.
Using Your Remote
Hold the “standby” button if you have an SR remote.
The 4-digit SR remotes are unique models and need to reset before they can be used. Press and hold the standby button. Release the button as soon as your device and remote shut off. This should reset you remote and your device to synchronize them with one another.
- It can take anywhere from 5-60 seconds for the device and the remote to shut off.
Try using the commonly-used buttons on your remote to test the device.
To check to see if the programming was successful, try entering some common commands for your device using the remote. Try changing channels, volume, or input to see if the essential buttons work. If the device is responsive to your commands, it is successfully synchronized with your remote.
- Keep in mind that there are certain buttons on the Philips universal remote that won’t do anything for your device. The “record” button may work with a cable box or DVR device for example, but it may not do anything for a TV or receiver.
- Move any plants or obstructions out of the way to ensure that the signal for your remote will clearly reach your device.
Repeat this process on 1-2 other devices if you want to.
Depending on the version that you’re using, a single Philips universal remote can be programmed to work with 2-8 other devices, although it is usually less than 4. If the other device is near the one that you just programmed, unplug the one that you already programmed to prevent any mistakes.
Tips
- There have been a number of different remotes that have been produced by Philips over the years. Some of them have slightly different instructions. Consult your manual before beginning the setup process to see how your remote differs.