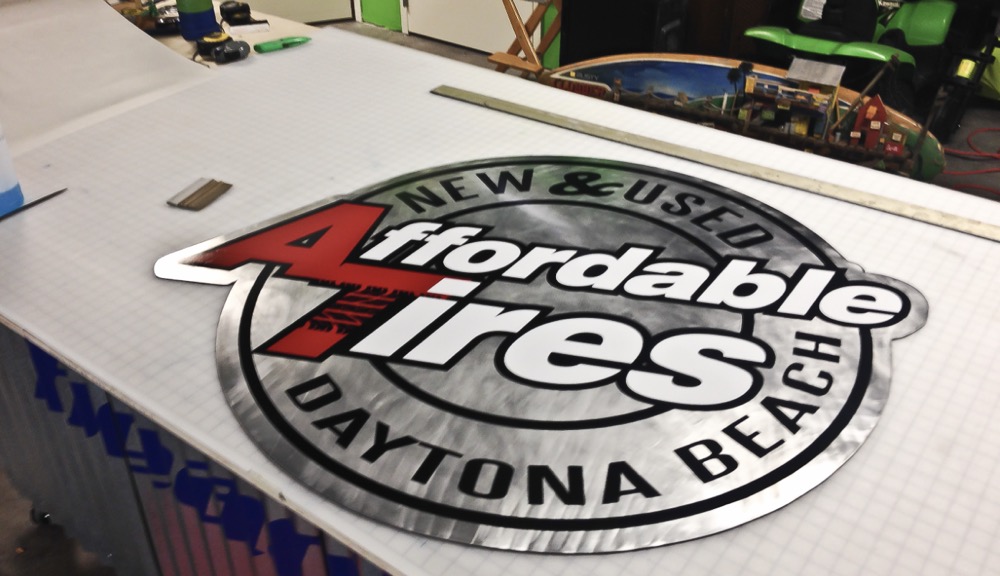
Vinyl lettering is an alternative to painted signs. Vinyl lettering can be applied to glass, wood, metal, drywall, and any other smooth surface. Vinyl lettering lasts up to eight years, depending on the quality. This article explains how to install vinyl lettering, or how to install any cut vinyl decal, which differs from a flat decal.
Steps
Clean the surface.
Remove the old vinyl lettering, if present, and then clean the surface with appropriate cleaner. Take precaution to avoid lint being left on the surface.
- For plastic or glass, a simple surface cleaner like windex is appropriate.
- For exterior painted or metal surfaces, you can use a solvent cleaner.
- For interior painted surfaces, you can use generic household cleaner.
Make a hinge for the sign you want to apply.
Apply masking tape to the top of the sign. Lift the sign upwards.
Remove the backing.
Pull the adhesive backing upwards.
Apply the sign.
Carefully place the sign on the surface and then use the squeegee to transfer the vinyl to the surface.
Remove the tape.
Carefully pull upwards to remove the tape.
Tips
- An alternative to a squeegee would be a credit card.
- Reverse cut vinyl lettering can be applied indoors and lasts longer.
Warnings
- Humidity may impact results
