This minHour teaches you how to install Xcode on a Mac or a Windows PC running VirtualBox.
Windows 11, 10, 8.1, and 7
Download and install VirtualBox for Windows.
This is a free, open-source hypervisor that enables you to run multiple virtual machines, including Xcode for macOS.
- Go to https://www.virtualbox.org/wiki/Downloads and click Windows hosts. This starts the download (though you may have to click Save or Download to continue).You must be using a 64-bit version of Windows with at least 4 GB of RAM.
- You must be using a 64-bit version of Windows with at least 4 GB of RAM.
- Run the installer, then follow the on-screen instructions to complete the installation.
Download macOS High Sierra Final.
You can get the RAR version for free here.
- If you can’t download it because the file is too large (it’s 6 GB), you can get the fix.
Extract the RAR file.
You can use any extraction app that supports RAR files, such as WinRAR or WinZip. Once the file is extracted, you’ll have a folder containing a High Sierra .vmdk file and a .txt file.
Open VirtualBox.
You’ll find it in the area of the Start menu.
Click New.
It’s at the top-left corner of the app. The “Create Virtual Machine” dialog will appear.
Type OSX into the “Name” field.
Select Mac OS X from the “Type” drop-down menu.
Select macOS 10.13 High Sierra (64-bit) or MacOS 64-Bit from the “Version” drop-down.
- If you don’t see any 64-bit options, you must enable VT-x or “virtualization” in your BIOS settings. See Change Computer BIOS Settings to learn how to access the BIOS.
Click Next.
It’s at the bottom of the window.
Drag the slider to the desired memory size.
This is how much hard drive space you’ll allocate to High Sierra. It’s best to use between 3 GB and 6 GB.
Click Next.
Create a hard disk.
Here’s how:
- Click the button next to “Use an existing virtual hard disk drive.”
- Click the browse icon.
- Navigate to the High Sierra .vmdk file you extracted earlier.
- Select the file and click Create.
Click Settings.
It’s at the top-left corner of the window.
Edit your virtual machine.
Make the following updates to your settings:
- Click System in the left column.On the motherboard tab, select ICH9 from the “Chipset” menu, then check the box next to Enable EFI.On the Processor tab, select 2 as the number of processors, then move the “Execution cap” slider to the 70% mark.
- On the motherboard tab, select ICH9 from the “Chipset” menu, then check the box next to Enable EFI.
- On the Processor tab, select 2 as the number of processors, then move the “Execution cap” slider to the 70% mark.
- Click Display in the left column.On the Screen tab, select 128 MB as the “Video Memory” value.
- On the Screen tab, select 128 MB as the “Video Memory” value.
- Click OK to save your changes.
Close VirtualBox.
You can do this by clicking the at the top-right corner of the app.
Open an elevated command prompt on your PC.
Here’s how:
- Type cmd into the search box in the task bar.
- Right-click Command Prompt in the search results.
- Click Run as administrator. A black window with the command prompt will appear.
Run these commands at the prompt.
Run these in order, but replace the paths to the location of your VirtualBox, and “Your VM Name” with its name:
- Type cd “C:Program FilesOracleVirtualBox” and press .
- Type VBoxManage.exe modifyvm “Your VM Name” –cpuidset 00000001 000306a9 04100800 7fbae3ff bfebfbff and press .
- Type VBoxManage setextradata “Your VM Name” “VBoxInternal/Devices/efi/0/Config/DmiSystemProduct” “MacBookPro11,3” and press .
- Type VBoxManage setextradata “Your VM Name” “VBoxInternal/Devices/efi/0/Config/DmiSystemVersion” “1.0” and press .
- Type VBoxManage setextradata “Your VM Name” “VBoxInternal/Devices/efi/0/Config/DmiBoardProduct” “Iloveapple” and press .
- Type VBoxManage setextradata “Your VM Name” “VBoxInternal/Devices/smc/0/Config/DeviceKey” “ourhardworkbythesewordsguardedpleasedontsteal(c)AppleComputerInc” and press .
- Type VBoxManage setextradata “Your VM Name” “VBoxInternal/Devices/smc/0/Config/GetKeyFromRealSMC” 1 and press .
Open VirtualBox again.
You can also close the CMD window if you wish.
Click Start.
It’s the green arrow icon at the top-left corner of the app.
Set up your virtual Mac.
Follow the on-screen instructions to set up High Sierra like you’re setting up a new computer, and log in with your Apple ID as prompted. When you’re finished, your virtual Mac will display its home screen.
Open the App Store.
It’s in the Dock at the bottom of the screen.
Search for Xcode.
Type xcode into the search bar at the top-right corner of the App Store and press ↵ Enter.
Click Xcode.
It should be the first result. Look for the blue app store icon with a hammer.
Click Get.
If you didn’t sign in with your Apple ID during setup, you’ll have to do so now.
Click Install.
Xcode will install on your virtual Mac. When it’s finished, an “Open” button will appear.
Click Open to launch Xcode.
Click Agree.
It’s at the bottom-right corner of the license agreement pop-up.
Enter your Mac administrator password to continue.
Xcode will now install some additional features.
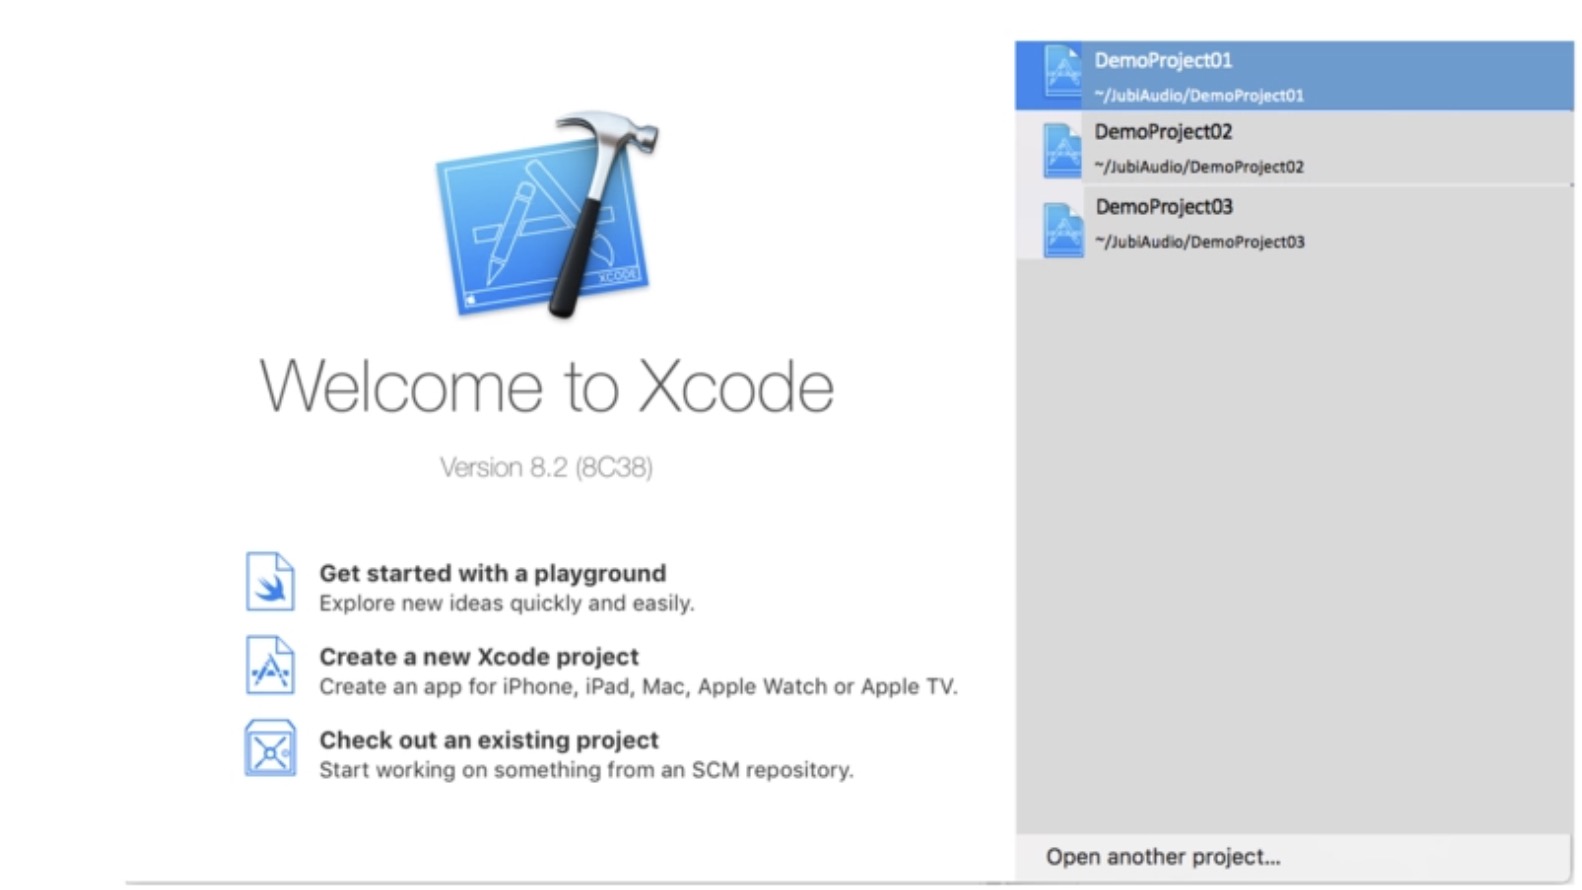
Start a new project.
- If you’re new to Xcode, select Get started with a playground to code in a preset environment.
- To start a project from scratch, click Create a new Xcode project.
- If asked to enable developer mode on your Mac, click OK.
macOS
Open the App Store.
You’ll find its icon on the Dock, which is usually at the bottom of the screen.
Type xcode into the search bar and press ⏎ Return.
A list of matching results will appear.
Click Xcode.
It should be the first result. Look for the blue app store icon with a hammer.
Click Get.
Click Install.
Xcode will now download and install on your Mac. When the app is finished installing, the “Install” button will change to “Open.”
Click Open.
Xcode will launch.
Click Agree.
It’s at the bottom-right corner of the license agreement pop-up.
Enter your administrator password.
Xcode will now install additional components on your Mac.
Start a new project.
- If you’re new to Xcode, select Get started with a playground to code in a preset environment.
- To start a project from scratch, click Create a new Xcode project.
- If asked to enable developer mode on your Mac, click OK.