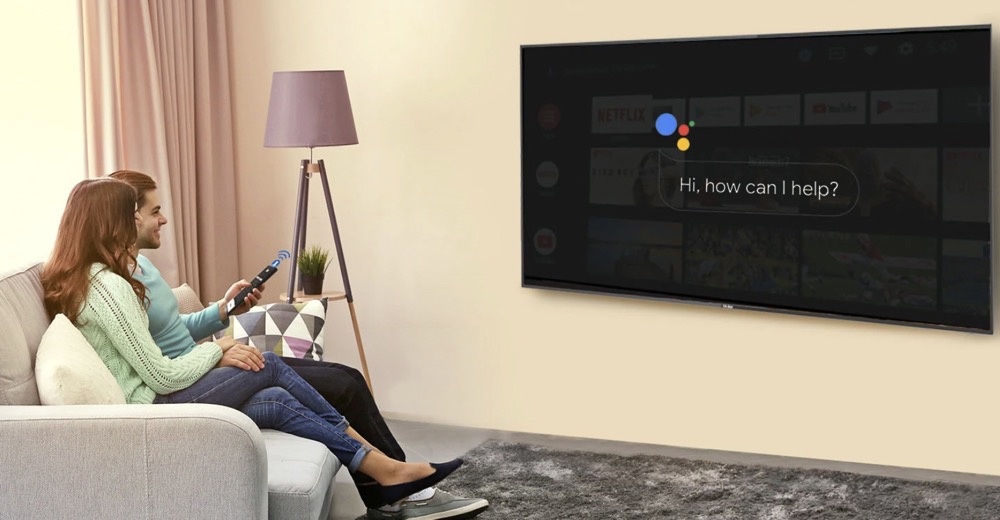
By connecting your laptop to your TV, you can turn almost any TV—even TVs that aren't "smart"—into a full-fledged media center. Whether you connect with an HDMI cable or wirelessly through AirPlay, Miracast, or Chromecast, hooking up your PC or Mac laptop to your TV is easier than you think. This tutorial will show you the easiest ways to mirror video and audio from your Windows laptop or MacBook to your TV screen.
Connecting a Windows Laptop to a TV (Wired)
Check the video output port on your PC laptop.
Most PC laptops have HDMI ports, but some use other formats like DisplayPort or USB-C. But don’t worry—even if your laptop doesn’t have an HDMI port, you can get an affordable adapter to translate its signal to one that your TV understands.
- For example, if your laptop has a DisplayPort, you can get a DisplayPort to HDMI adapter.
Connect an adapter to the PC’s video port (if needed).
If your PC laptop doesn’t have an HDMI port, you can connect an HDMI-to-DisplayPort (or whichever type of port your laptop has) to your laptop. Once connected, you’ll be able to connect any standard HDMI cable to the adapter.
Connect your TV to the laptop with an HDMI cable.
If you have an adapter, plug the HDMI cable into the adapter, and then plug the other end into an HDMI port on the TV. If not, just plug the HDMI cable right into the HDMI ports on both devices.
- If you have multiple HDMI ports on your TV, take note of the number on the port you choose. You may need to select that port with your remote control in a moment.
- Make sure your HDMI cable is long enough that it isn’t pulled taut.
Use the TV’s remote control to switch to the HDMI input.
For example, if you plugged the HDMI cable into HDMI 2, use the “Source” or “Input” button on the remote to select form the input menu.
Play a movie, listen to music, or open your favorite app.
Anything you do on your laptop should now also appear on your TV screen. Additionally, since HDMI carries audio, you should hear audio come through the TV rather than your laptop.
- If you don’t hear the sound coming through your TV, click the volume icon in the taskbar near the system clock at the bottom-right corner, and then select the name of your TV (or HDMI) as the output.
Connecting a MacBook to a TV (Wired)
Check the video output on your Mac.
While most TVs have HDMI ports, not all Mac laptops have HDMI ports.
- If you have a MacBook Pro from 2021 or from any time between 2021 and 2015, you’ll just need a standard HDMI cable to connect to your TV.
- If your MacBook doesn’t have an HDMI port, you can still connect it to your TV’s HDMI port using an adapter. For example, if your MacBook has a USB-C port (very common), you can use a USB-C to HDMI adapter, such as Apple’s USB-C Digital AV Multiport Adapter.
- To find out what type of video ports your Mac has, visit https://support.apple.com/en-us/HT201736 to find your model.
Connect the HDMI adapter to your laptop (if needed).
If you’ve found that your Mac laptop doesn’t have an HDMI port, start by connecting the adapter the video port.
Connect the cable to the adapter or HDMI port on the TV.
If your MacBook has an HDMI port, connect one side of an HDMI cable to the port on your MacBook, and the other to an HDMI port on your TV. Otherwise, connect a USB-C, Thunderbolt, or Mini DisplayPort cable (whichever is compatible with your laptop) to the adapter, and then plug the HDMI end into the TV.
- Take note of the number on the HDMI port you connect to, as you may need to switch to that source using your TV’s remote control.
Switch to the HDMI source on your TV.
If you don’t immediately see your Mac’s screen on your TV, use the remote control to change the “Input” or “Source” to the HDMI input. If you have multiple HDMI ports on your TV, they’ll be numbered—make sure you choose the numbered port to which you connected. You should now see your Mac’s screen on the TV.
Adjust the display (optional).
If, on your TV, the Mac’s desktop seems to extend beyond the borders, you may need to change the scaling. Press + on the keyboard, and then drag the “Underscan” slider until the picture fits.
Play a movie, listen to music, or open your favorite app.
Anything you do on your Mac should now also appear on your TV screen. Additionally, since HDMI carries audio, you should hear audio come through the TV rather than your MacBook.
- If the sound is coming through your laptop instead of the TV, click the Apple menu, select System Preferences, and then click Sound. In the “Output” section, choose HDMI as the sound output.
Connecting a Windows Laptop to a TV (Miracast)
Connect your PC laptop to the same Wi-Fi network as your TV.
If both your PC and TV support Miracast, you’ll be able to connect your laptop to your TV and play video and audio without the need for cables.
- If you’re not sure whether your TV supports Miracast, try pressing your TV’s Menu or Setup button and looking for “Miracast,” ”Wi-Fi Casting,” or “Screen Casting.” You may also find one of these three options as a separate source by pressing the Input or Source button on the remote control. You can also use a Miracast adapter that plugs into your TV, or a Roku, which supports Miracast.
- If your TV doesn’t support Miracast, it may support Chromecast, which means you can stream video and audio from a web browser like Chrome or Edge. If you have an Android TV, or even a Amazon Fire Stick, NVIDIA Shield TV, or game console like Xbox One or PS5, you can use Chromecast. See the Connecting a Windows Laptop to a TV (Chromecast) method instead.
Click the Action Center (Windows 10) or Network (Windows 11) icon.
If you’re using Windows 10, click the icon that looks like a squared speech bubble to the right of the clock, which is usually at the bottom-right corner of the screen. If you’re using Windows 11, click the network icon, which is several curved lines to the right of the volume icon.
Click Connect (Windows 10) or Cast (Windows 11).
- If you don’t see Cast on Windows 11 after clicking the Network icon, click the pencil icon at the bottom-right corner of the menu, click +Add, and then select Cast.
Select your TV or streaming device.
All Miracast-enabled devices that are turned on and available will appear in the list. Clicking the TV or streaming device you want to connect to will immediately connect your PC to the TV.
- You may be prompted to enter a code from the TV once connected.
Play a movie, listen to music, or open your favorite app.
Anything you do on your laptop should now also appear on your TV screen. Additionally, since HDMI carries audio, you should hear audio come through the TV rather than your laptop.
- If you don’t hear the sound coming through your TV, click the volume icon in the taskbar near the system clock at the bottom-right corner, and then select the name of your TV or streaming device as the output.
- When you want to stop mirroring your screen, return to the Cast or Connect option and select Disconnect.
Connecting a Windows Laptop to a TV (Chromecast)
Connect your PC laptop to the same Wi-Fi network as your Chromecast TV.
If you have a TV that supports Chromecast, including any Android or Google-based TV or streaming device, you can use Chromecast to stream movies, shows, and anything else from Chrome or Edge to your TV.
- Most common streaming devices, including Amazon Fire TV devices and modern gaming consoles, support Chromecast. You can also connect a Chromecast dongle to your TV’s HDMI port to make it Chromecast-compatible.
Open Google Chrome or Microsoft Edge.
Windows 10 and Windows 11 both come with the Microsoft Edge web browser, which you’ll find in the Windows menu. If you prefer Chrome, you can launch it instead.
Open the content you want to stream.
Since both Edge and Chrome support Chromecast, you can go to any website, like Netflix, Hulu, or Amazon Prime. You can then cast the content from your browser to your TV screen.
- You’ll also have the option to cast your entire screen to the TV if you prefer to use a different app, such as your media player or the Windows Netflix app.
Click or tap the three-dot menu.
You’ll see three horizontal dots at the top-right corner of Edge, or three vertical dots at the top-right corner of Chrome.
Select the Cast option.
If you’re using Chrome, the option is called . On Edge, you’ll first select and then choose .
- You may also see the Chromecast icon at the top of the browser—it looks like a square with curved line at its bottom-left corner.
Click Sources to choose a source.
If you want to cast from a tab in your web browser, you can skip this step. To cast your entire desktop, choose from the Sources menu. Alternatively, you can cast an individual file by selecting .
Select your TV or Chromecast-compatible device.
Once selected, the content you selected will appear on the TV. Additionally, the sound from the video or audio you play will be routed through the TV instead of through your laptop.
- To stop casting, return to the Cast menu and select Stop casting or Disconnect.
Connecting a MacBook to a TV (Wireless)
Connect your MacBook to the same Wi-Fi network as your TV.
As long as you have an AirPlay 2-enabled TV or streaming device, connecting your MacBook to your TV wirelessly is simple.
- If your TV does not support AirPlay 2, you can use an AirPlay 2-enabled streaming device like an Apple TV or any modern Roku.
Click the Control Center icon on your Mac.
It’s the two gray sliders in the menu bar at the top-right corner of the screen.
- If you’re using macOS Catalina or earlier, click the icon of a square with a triangle in the menu bar instead.
Click Screen Mirroring.
Your Mac will now scan for available AirPlay 2-ready devices.
- You can skip this step if you’re using macOS Catalina or earlier.
Click the name of your TV or streaming device.
For example, if you want to connect your MacBook to your Apple TV, choose the option. If it’s your first time mirroring your screen to your TV, you may be prompted to type in a code that appears on the TV to make the connection.
Play a movie, listen to music, or open your favorite app.
As soon as you select the TV or streaming device for mirroring, anything on your MacBook’s screen will appear on your TV. If you play video and audio on your computer while mirroring is enabled, you’ll see and hear the content on the TV.
- If the sound is coming through your laptop instead of the TV, click the sound icon in the menu bar at the top-right, and then select the name of your AirPlay 2-enabled TV or device.
- If the screen size doesn’t look right on the TV once the Mac is mirrored, click the two overlapping blue squares in the upper-right corner of the screen, and then choose your TV or streaming device’s name.
Stop mirroring the screen when you’re finished.
To disconnect from the TV, click the Control Center icon again (the two sliders), click , and then click the name of your TV or streaming device.
- If you’re using macOS Catalina or earlier, click the icon of a rectangle with a triangle at the center, and then select Turn AirPlay Off.