Converting VHS tapes to DVDs is a great way to preserve, share and enhance those old home videos that may not be aging very gracefully. This article outlines two methods to do so—both produce the same quality video. The first method involves using a standalone DVD recorder. The second method involves using your computer and an analog-to-digital video converter to convert your VHS tapes to MPEG files and then burn them to DVDs.
Using a Standalone DVD Recorder
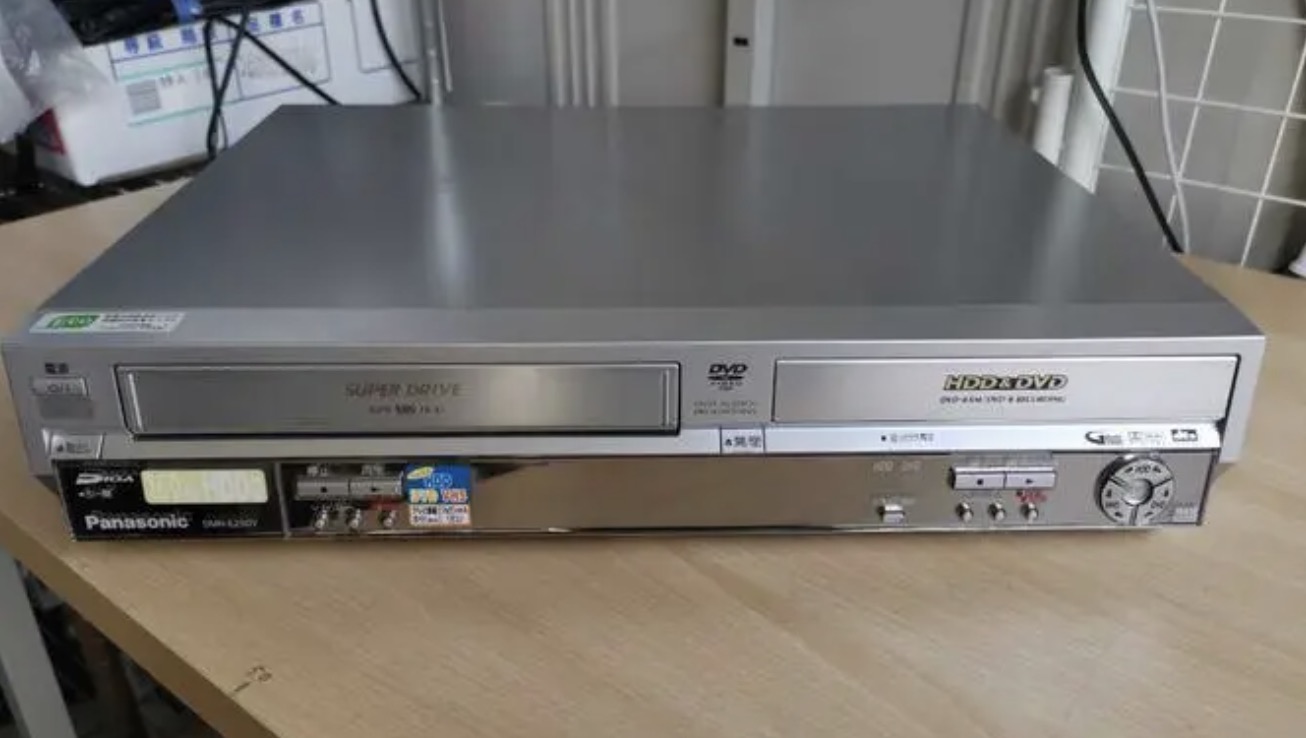
Purchase a DVD Recorder.
A VHS-to-DVD recorder basically gives you a DVD copy of your tape in real time.
- DVD recorders cost between $100-$200 at major electronic stores or online. You can also usually find one between $50-$75 in good condition on Ebay.
- With a DVD recorder, you don’t have a lot of flexibility as far as menus, buttons and chapter settings, but it’s the fastest and easiest way to convert VHS to DVD.
- If you have a VCR or camcorder with Firewire connections, you can get a DVD Recorder with Firewire connections and transfer tapes at a higher quality. Firewire ports look similar to USB ports, except they are flatter and tapered at the end.
Find the right cable.
Your VCR/camcorder or DVD Recorder may have come with the correct cable to connect to the other, but if not, you’ll need to find or purchase one.
- Both your DVD Recorder and your VCR should be able to connect to an RCA or S-Video cable. RCA cables are red, white and yellow and connect to their corresponding colored ports on both the DVD Recorder and VCR. S-Video cables have four small, round pin connectors. Check the back of both your devices to see what kind of cable you need. If you don’t have the correct cable, you can find it at an electronic store or online for $5-$10.
- If you’re using a camcorder, the cable that came with it should connect to your DVD Recorder. If you no longer have it, you can find the right cable at an electronic store or online for $5-$10.
- If your DVD Recorder and VCR/camcorder have Firewire ports, make sure your Firewire cable matches them exactly. The number of pins and the shape of a Firewire cable can vary slightly—they aren’t all the same. If you don’t have the correct cable, you can find it at an electronic store or online for $5-$10.
Connect your VCR/camcorder to your DVD recorder.
Insert your tape in your VCR/camcorder and a DVD-R in the DVD recorder.
Press “Record” on your DVD recorder.
You’ll want to start the DVD recorder first so you don’t cut off the beginning of the video.
Press “Play” on your VCR/camcorder.
As quickly as possible after pressing “Record” on your DVD recorder, press “Play” on your VCR/camcorder.
Cut parts of the video you don’t want.
Press “Pause” on the DVD recorder and fast-forward the VCR/camcorder through parts you want to edit out. When you’ve reached the end of the portion you want to cut, restart the DVD recorder again and start playing your tape.
Stop recording.
When you reach the end of your video or the end of the portion you want to record, press “Stop” on your DVD recorder.
- If you reach the end of your tape and your video stops automatically, your DVD recorder will stop recording automatically.
Converting to an Editable Movie on Your Computer
Prepare your resources.
You’ll need a working VCR, an analog-to-digital video converter, a computer with a DVD burner, blank DVD-Rs, movie editing software, and DVD burning software.
- This method will take several hours of work for one hour of video—but you likely have most of the equipment already, besides the converter. This method also gives you the flexibility to edit the video as much as you want, adding transitions, special effects, music, etc.
- Analog-to-digital video converters cost anywhere from $15 to $75 and can be found at electronic stores or online. The more expensive converters come bundled with advanced editing software.
Connect your VCR to your computer with an analog-to-digital video converter.
An analog-to-dv converter has a USB connection on one side, and red, white and yellow RCA cables on the other. Connect the RCA cables to the corresponding colors on the back of your VCR and connect the USB cable to your computer.
Open your editing software.
This software comes standard with Mac and most versions of Windows, and is also available for download. There are also more advanced versions that you can purchase, if you’re looking for more advanced movie-making features.
- On a Mac, this is iMovie.
- On a PC, the is Movie Maker. Movie Maker comes standard in Windows Vista, XP, and 7. Windows 8 and 10 users can download it.
Import the video.
This can take a lot of time and hard drive space. Two hours of footage will create a 1Gb – 2Gb MPEG file.
- In iMovie, select File > New Movie and select a theme. Then select the “import video” button at the top (this looks like a downward pointing arrow). Follow the prompts to import your video.
- In Movie Maker, select File > Import from Digital Video Camera, and follow the prompts to import your video.
Edit the content.
Here is where the benefits of this method pay off. You can edit your video and add menus and chapters before burning your DVD.
Burn your DVD.
- On a Mac, select File > Share > File and save your movie file. You’ll need to download and install burn software if you don’t already have it, such as Burn for OS X.. Use this application to export your movie to DVD.
- On a PC, you can do this in Movie Maker. Click the menu icon in the top left corner, select Save Movie > Burn DVD. Follow the prompts to burn your DVD.
Make sure your computer won’t sleep automatically while burning.
This could interrupt the DVD burning process and mess up your movie.
- On a Mac, you can do this under System Preferences > Energy Saver. On “Turn Display Off” move the setting to “Never” and select “Prevent Computer from Sleeping Automatically”. Make sure to restore these settings back to the default after you’re finished—your computer does need sleep!
- On a PC, go to Start > Control Panel > System and Security > Power Options > Select a power plan > Change plan settings > Change advanced power settings > Advanced settings. Change both “Sleep after” and “Hibernate after” to “Never”. Make sure and restore these settings to the default after you’re finished!
Tips
- If your VHS VCR has a sharpness control, turn it down for less noise. The image will be softer, but will ultimately produce a better image.
- Clean the tape heads on your analog VCR or camcorder, especially if your tape is old. This will help you get the best picture possible.
- If you have two hours of VHS and transfer it to a DVD, you may find a decline in quality. If your program allows, change the resolution from 720×480 to 352×480. This can improve the quality of your transfer.
Warnings
- If you do convert your analog video to DV before putting it on DVD, don’t be shocked when you see the size of the DV file it captures to your computer. DV files take up almost 14 gigabytes per hour.