So you are all set to edit a video, amazing! If you are thinking how to change the speed of the video and render it at the same speed, you've reached the right place. Sony Vegas Pro has an amazing feature using which you change the speed of the video just by doing some very minor adjustments in your timeline. So, let's get started!
Steps
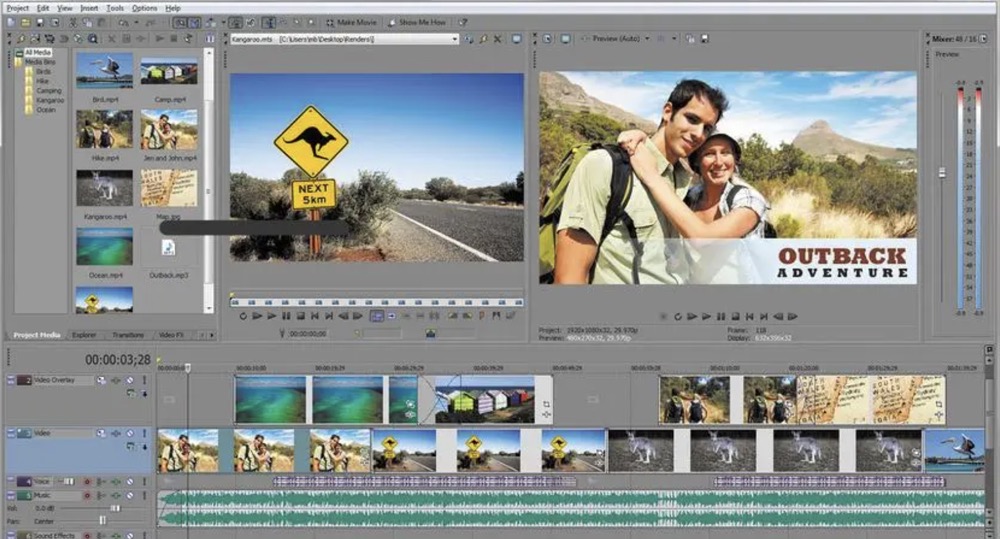
Open Sony Vegas Pro.
You may find the icon in the Start Menu or at the desktop provided you opted for creating an icon at the desktop while installing the software.
Open a video file.
Select File from the top- left side of the screen to open a drop-down menu. Select Opento open a dialog box in order to locate the video file. Select Open to place it on the timeline.
Enlarge the timeline as per your preference.
On the bottom right side of the screen, there are two buttons: + and – meant for enlarging or compressing the timeline. Most people keep the division of 10 seconds for a small video and 1 minute for a long video.
Change the speed of the video.
Hold the Ctrl key and move the cursor to the exact end of the video and click on the end point such that it shows a small rectangular image with a zig-zag formation just below it. Now if, you wish to See the time markings to edit it precisely.
Render the video
That’s it! Once you’re done with editing, once again open the File sub-menu and select Render to open a dialog box where you can make changes as per the quality of video you want and select Render to save the video to the mentioned location.
Tips
- It may require several trials so use the time markings on the timeline to ensure faster and precise editing.