Hoping to stake your claim in the world of ASMR YouTubing? You’ve got the right idea. Over the past few years, this niche industry has turned into something of a cash cow, with top content creators earning over $650,000 each month. While there’s no way to guarantee success in the ASMR corner of YouTube, you can most definitely boost your chances at popularity by investing in the right equipment. Don’t worry—we’ve got you covered. Keep scrolling for a full equipment checklist that can help bring your ASMR career to life!
Microphone
High-sensitivity microphones are a super important part of any ASMR setup.
Professional microphones fall into the category of dynamic or condenser, which are fancy terms for whether a mic needs (condenser) or doesn’t need a power source (dynamic). Both types of mics can produce high-quality audio—the final decision really comes down to your budget and workspace. Here are a few different set-ups for you to consider:
- Mobile Microphone: Invest in a mobile microphone, like a Samson Satellite. Mobile mics plug directly into your smartphone, and are a great option if you’re on a budget and don’t have a lot of recording space. You can get a mobile microphone for anywhere between $50 and $90.
- USB Microphone: USB mics plug directly into your laptop or computer, and are pretty budget-friendly. They aren’t quite as portable as mobile mics, but they offer decent quality without breaking the bank. High-quality USB mics can go for anywhere from $50 to $350.
- XLR Microphone: XLR microphones are more professional-sounding and durable than USB mics. Unlike their USB counterpart, XLR mics are routed through an audio interface, which is plugged into your computer. XLR mics sell at a variety of price points. Cheaper mics go for around $100-$250, while pricier mics can cost at least $400.
- Two XLR Microphones: With this setup, you’ll have 2 XLR microphones, which each represent the listener’s left and right ears. While this is one of the most expensive setups of them all, using 2 microphones will create high-quality, satisfying ASMR audio that’s sure to have your audience coming back for more.
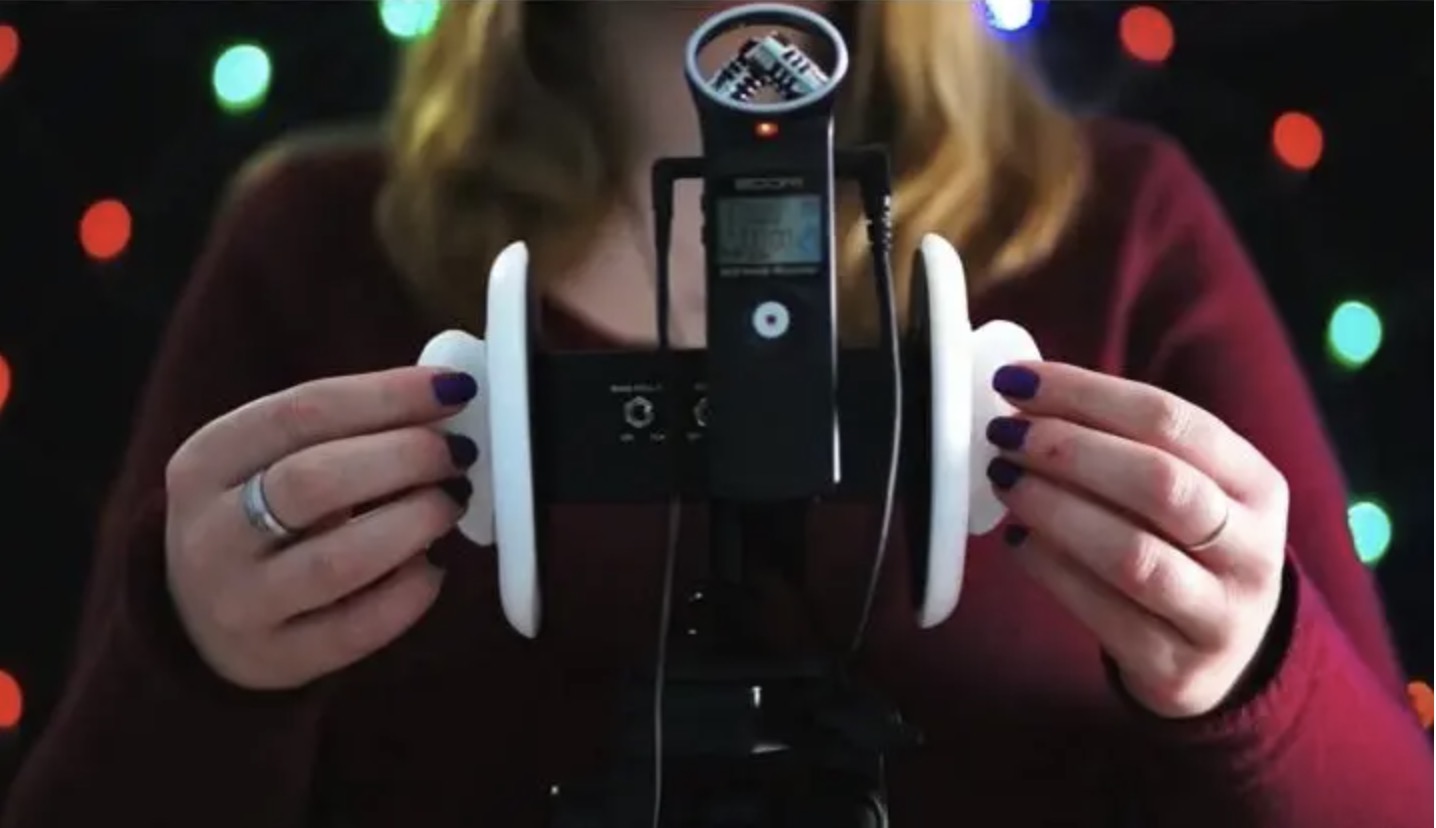
- Binaural Microphone: Similar to the 2 XLR mics, binaural microphones also imitate a person’s left and right ears, which creates a realistic and satisfying listening experience. Some binaural mics look and work like earbuds and record directly from your ears. Other mics look like metal boxes with prosthetic ears attached to each side—these “ears” actually record audio, all while mimicking a person’s listening experience. Earbud-style mics can go for as low as $150, while high-end box-style mics cost at least $400.
Mic stand
A mic stand is the unsung hero that holds your microphone in place throughout your video.
Depending on your setup, you may need a larger stand to support your microphone. If you have a USB mic, you’ll only need a small, tripod-like stand to hold up your mic.
- When it comes to larger stands, tripod-style equipment is pretty all-purpose, while tripod boom- and overhead-style stands offer a bit more extension.
- A large microphone stand can cost at least $25.
- Some USB microphones come with a stand.
Pop filter
A pop filter helps block out unpleasant noises from your recording.
When you speak into your microphone, you create “plosives,” which are harsh sounds created by consonants like P or B. A pop filter is a special screen that hooks to your microphone, creating a handy barrier between your voice and the surface of the mic. Pop filters are pretty cheap; plus, they’re a necessity if you want clear, crisp, and high-quality audio for your ASMR videos.
- You can buy a pop filter for less than $25 online.
Camera
A good camera helps your audience tune into the satisfying visuals of an ASMR video.
You don’t necessarily need to buy a new camera for your YouTube endeavors; if you have a high-quality iPhone or Samsung phone, you should be in good shape. Here are a few high-quality options to choose from if you’re willing to splurge on your set-up:
- Sony ZV-1: This small camera offers features like high resolution recording and autofocusing. Most big-name retail stores sell it for between $700 and $750.
- Fujifilm X-S10: This camera is definitely on the pricey side, but it offers high-quality recordings and a fantastic sensor. The retail price typically falls somewhere between $1,000 and $1,400.
- Fujifilm X-T200: This camera is well-loved for its movable touchscreen and high resolution. Plus, some stores sell it for as little as $600.
Tripod
A tripod helps keep your camera steady during recordings.
For a smooth, high-quality video, place your tripod where you’d like your camera to go. Then, mount the camera on top of the tripod, with the camera focused on your ASMR activity. Try to buy a tripod that’s large and tall enough to put your camera at a good, close angle over your ASMR workspace.
- You can buy a tripod online for less than $30.
Basic lighting setup
Attach a ring light on top of your camera so your video is well-lit.
A ring light is a large, circular device that uses LEDs to light up your workspace. Mount your ring on top of your camera, so the light is facing your ASMR activity. Some ASMR like using additional lighting as well, like candles and lamps.
- A good ring light can cost anywhere between $60 and $120.
Laptop or computer
A high-quality computer or laptop helps you edit and publish your ASMR videos.
If you don’t have one already, invest in a computer or laptop with at least 8 GB of RAM. Ideally, look for a device with at least 16 GB—this will make it even easier for your computer to process high-quality ASMR videos.
- If you’re willing to make an investment, take a look at the Dell XPS 15, Dell G5 15 SE, MacBook Pro, Alienware Area-51m, or Microsoft Surface Book 2. These are all excellent video editing options that all fall between $1,100 and $2,400.
Headphones
Headphones help you perfect your ASMR audio.
As you record, you’ll need to make sure your microphone is picking up all the audio, and that there aren’t any issues with the audio quality. Ultimately, headphones help make sure that your videos are as pristine and satisfying as possible.
- You can pick up a pair of studio headphones for as little as $20.
- Noise-cancelling and wireless headphones aren’t great options for audio work. Instead, choose a high-quality pair with changeable pads and a medium amount of noise isolation.
Digital Audio Workspace (DAW)
A DAW is a program that helps you make your audio as great as it can be.
If you’re on a budget, look into free programs like Audacity, Garageband, Ableton Live Lite, Tracktion Waveform Free, Pro Tools First, Ohm Studio, Cubase LE, or SoundBridge. If you’re okay with making a long-term investment, purchase a DAW like Ableton Live 10, Logic Pro X, Avid’s Pro Tools, or Reaper.
- You can download and/or purchase these programs online. Just open up a search engine and type “download” along with the DAW you’re looking for.
- Free DAWs are a great starting point, but they don’t typically offer as many features as paid programs.
- A paid DAW program can set you back anywhere between $100 to $450.
Video editing software
Video editing software helps your finished ASMR video look super polished and professional.
If you have a Mac, Apple offers the iMovie software, which is totally free to use. If you don’t have a Mac, look into free programs like Hitfilm Express, Lightworks, Shotcut, Movie Maker Online, and VSDC Video Editor.
- If you don’t mind spending a little extra money, consider a program like Adobe Premiere Pro, which is used by video editing pros all over the industry. CyberLink PowerDirector and Apple Final Cut Pro X are other excellent options.
- Adobe and CyberLink are both monthly subscription services, while Final Cut Pro has an upfront cost of $300.
- Lightworks are actually on par with paid editing software, but it can be tricky to learn the ropes at first.
Acoustic treatment
Acoustically treating your recording space prevents unpleasant echoes.
Hang up sheets of egg-crate foam around your room—this is a bumpy type of foam that helps cut back on the echoes in your recordings. You can also put up bass traps along your walls and ceiling, which can help prevent audio imperfections that are beneath 300 Hz.
- Egg crate foam often comes in multiples of 6. You can get a 6-pack for less than $15, and a 24-pack for less than $40.
- Some bass traps are triangular and designed to go in corners. These can be pretty cheap, and are often sold in multi-packs for less than $30. Rectangular panels tend to be on the pricier side, and cost at least $50.
- If your recording space is full of windows, cover the glass with moving blankets.
- Some people find that recording in a clothing-filled closet helps boost their quality since the garments provide some extra sound insulation.
Audio interface
An audio interface is a necessity if you have an XLR mic.
Unlike USB mics, XLR mics are wired with a 3-pronged cord, which can’t be connected directly to a computer or laptop. Instead, you plug this mic into an audio interface—this is a small, rectangular box that’s connected directly into your computer. Audio interfaces offer a little more flexibility as well, and let you adjust the volume of your mic.
- Some interfaces are more pricey than others. If you’re on a budget, you can find interfaces for less than $100.
- Your audio interface connects to your computer via a USB cord.
- If you have a USB microphone, you don’t need to get an audio interface.
Microphone/XLR cables
XLR cables connect your XLR microphone to an audio interface.
XLR cables are far different from USB cables; unlike USB cords, which are rectangular-shaped, XLR cables have a 3-prong pattern. Plug 1 end of the cord into your XLR mic, and the other end into your audio interface. These cords are pretty cheap, and sell for under $10.
- If you have a USB microphone, you don’t need to get any XLR cables.