Do you want to try Linux without committing to a full installation? Unlike other Linux distributions, Puppy Linux doesn't require a full installation—you can just create a boot disc or drive and boot from it as needed. Puppy Linux is also incredibly lightweight, so it'll run nicely even if you don't have much RAM. You can also opt to install Puppy Linux on your hard drive after booting from the image so you can use it as your regular desktop operating system. This minHour article will show you how to get started with Puppy Linux, from creating a bootable USB drive or disc to installing the operating system on your PC.
Creating a Bootable Image
Download the ISO file from http://puppylinux.com.
You’ll always find the latest official images at this location. The “Compatibility” column tells you which distribution’s packages and components are incorporated in that image of Puppy Linux.
- As you can see, there are many official distributions of Puppy Linux, including FossaPup, BionicPup, and Slacko. You can play around with any Puppy distribution you’d like, but make sure the version you download matches your system architecture (e.g., 64-bit or 32-bit). If you’re not sure which version you need, it’s easy to check on Linux and Windows.
Create a bootable CD, DVD, or USB drive.
To install Puppy Linux, you’ll first need to boot from ISO image you just downloaded. This means you’ll need to create a bootable CD, DVD, or USB drive containing the ISO file.
- CD/DVD: To burn an optical disc in Windows 10, right-click the downloaded ISO file and select Burn disc image. If you’re using Linux, you can use any disc burning software, such as Brasero, to burn the image—just make sure you burn the disc as an image, not as a data disc.
- USB: Creating a bootable USB drive will erase all of the data on the drive, so make sure you back up your data.If you’re using Ubuntu, use Startup Disk Creator. On other Linux versions (or if you prefer a command-line process), you can use dd. Windows users can use a free, open-source app called Rufus.
- If you’re using Ubuntu, use Startup Disk Creator. On other Linux versions (or if you prefer a command-line process), you can use dd.
- Windows users can use a free, open-source app called Rufus.
Booting into Puppy Linux
Boot from the image.
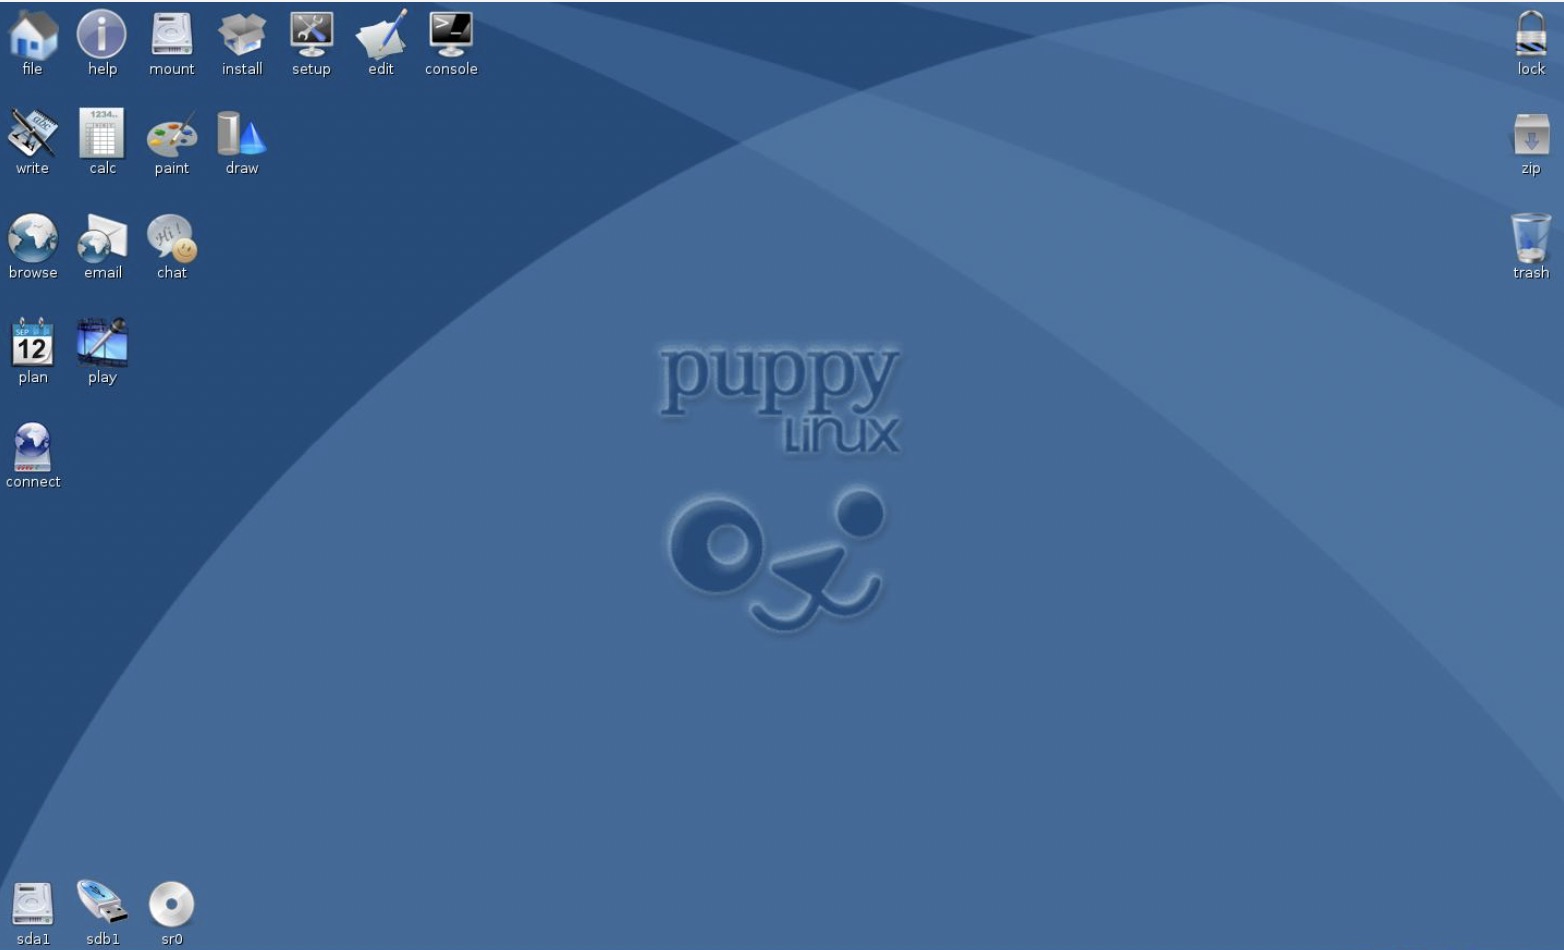
Once you’ve created your boot disc or drive, reboot your computer so that it boots from the disc or drive into Puppy Linux. After several dark screens with text, you will see the Puppy Linux desktop and a Quick Setup window.
- If the computer boots back up to your normal operating system, you’ll need to go into the system BIOS and give the optical and/or USB ports priority over the hard drive. See How to Enter BiOS to learn how to boot into the BIOS to change the boot order.
Choose your settings and click OK.
If you want to change the language, time zone, or other settings, you can do so now. If not, just click the at the top-right corner of the window to close it.
Save your session (optional).
If you just want to play around with Puppy Linux and not install it, feel free to do so. Since the operating system runs entirely in RAM, all of your changes and actions will be deleted when you shut down your PC. If you choose not to install Puppy Linux but want to save the changes you’ve made to the operating system, follow these steps to do so:
- When you’re ready to log out, go to Menu > Shut Down > Reboot Computer.
- Click SAVE on the pop-up window.
- Select a file system and click OK.
- Type a name for the saved session and click OK.
- Select Normal if you don’t need to encrypt the file (common), or select an encryption method and then follow the on-screen instructions.
- Select a save file size and click OK. 512MB usually works just fine.
- If the current save location works for you, click YES, SAVE. If not, click CHANGE FOLDER and select a different location. It’s fine to save to your bootable installation media (even the CD/DVD, if it’s re-writable). Once the file is saved, the computer will reboot.
Installing Puppy Linux
Boot from your Puppy Linux installation media.
If you decide you want a more permanent installation of Puppy Linux than just a bootable image, start by booting from the image you created. Once you’ve reached the desktop, move to the next step.
Click the Menu.
It’s at the bottom-left corner of the screen.
Select the Setup menu.
Another menu branch will expand.
Click Puppy Installer.
It’s near the bottom of the menu.
Click Universal installer.
It’s the first option.
Select an installation location.
The developers recommend either installing to removable USB media (flash drive or an external hard drive), or choosing the “Frugal” install option on an internal hard drive. If you choose an internal hard drive, you can select the Frugal option in a few moments.
Select the drive you want to install to.
Information about that drive will appear.
Select a partition.
If you do a “Frugal” install, you won’t have to worry about creating a brand new partition for Puppy Linux—just select an existing partition and you’ll be fine. If you want to fully install Puppy Linux on its own dedicated partition, click the button to create one now.
- Choose or create a FAT32 partition if you want to be able to use the drive as removable storage.
Click OK to confirm the partition.
Select the location of your boot media files.
This is the ISO image on the CD/DVD/USB drive you created.
Choose between a Frugal or Full installation.
If you’re installing on any type of drive without a dedicated partition for Puppy Linux, select . If you created a new partition, select .
- Not all versions of Puppy Linux have a Full option, including FossaPup. In this case, choose a Frugal install.
Follow the on-screen instructions to complete the installation.
Once the files are installed, you’ll be prompted to take care of some last-minute details, such as setting up the bootloader.
Save your session (Frugal installs only).
If you did a Full install, any changes you make to the system will save automatically. Frugal installs, whether on a USB or internal drive, require you to save your session when exiting. Here’s how to do it:
- Go to Menu > Shut Down > Reboot Computer.
- Click SAVE on the pop-up window.
- Select a file system and click OK.
- Type a name for the saved session and click OK.
- Select Normal if you don’t need to encrypt the file (common), or select an encryption method and then follow the on-screen instructions.
- Select a save file size and click OK. 512MB usually works just fine.
- If the current save location works for you, click YES, SAVE. If not, click CHANGE FOLDER and select a different location. It’s fine to save to your bootable installation media (even the CD/DVD, if it’s re-writable). Once the file is saved, the computer will reboot.
Tips
- Once you’ve installed Puppy Linux, it’s easy to get online.