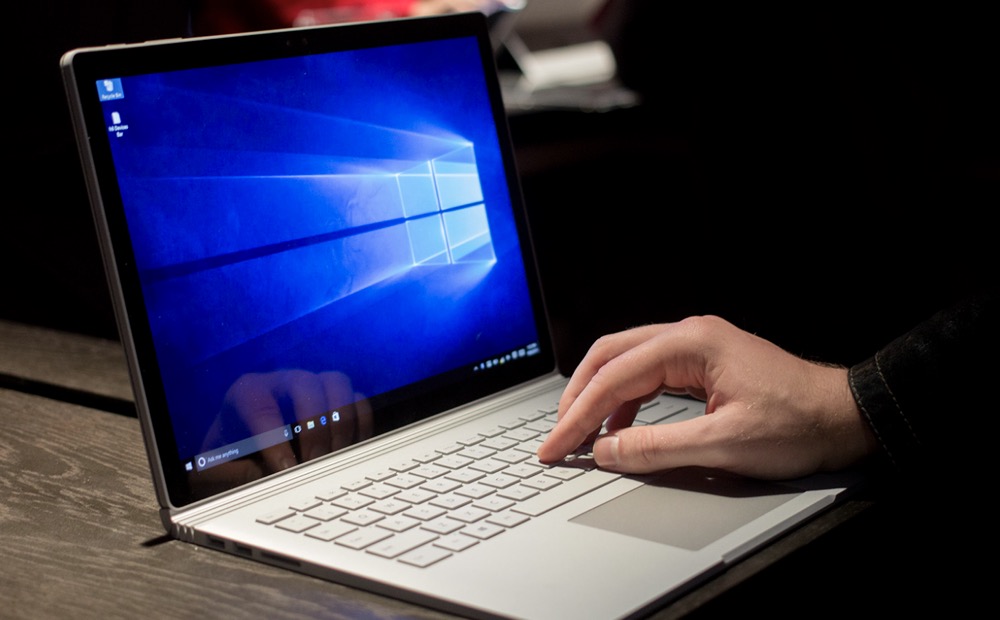
This minHour teaches you how to determine your Windows computer's bit count, which typically will be either 32- or 64-bit.
Windows 10 and 8
Open Start.
Click the Windows logo in the bottom-left corner of the screen. The Start window will pop up.
- You can also just right-click Start (or press ) and click System in the resulting pop-up menu. If you do this, skip the next two steps.
Open Settings.
Click the gear-shaped icon in the bottom-left corner of the Start window. This will open the Settings window.
Click System.
It’s a computer monitor-shaped icon in the Settings window.
Click About.
This tab is at the bottom of the left-hand column of options. Doing so brings up a list of your computer’s attributes.
Look for the “System type” heading.
It’s near the bottom of the “Device specifications” section toward the bottom of the window. You’ll see either “64-bit” or “32-bit” to the right of “System type”; this is your computer’s bit count.
Windows 7
Open Start.
Either click the Windows logo in the bottom-right corner of the screen, or press the ⊞ Win key.
Right-click Computer.
It’s on the right side of the Start window. Doing so prompts a drop-down menu.
- If the My Computer app is on your desktop, you can right-click it instead.
- If you’re using a laptop with a trackpad, tap the trackpad with two fingers instead of right-clicking.
Click Properties.
This option is near the bottom of the drop-down menu.
Look for the “System type” heading.
It’s below the “Installed RAM” heading on this page. You’ll see either “64-bit” or “32-bit” to the right of “System type”; this is your computer’s bit count.
Tips
- Running a 32-bit program on a 64-bit computer is completely fine, and is often necessary when using older programs on your PC.
- You can typically determine a Windows computer’s bit count by looking at its system specifications in a store or online.
Warnings
- Attempting to run a 64-bit program on a 32-bit system will generally result in problems.
